
[This is a sponsored post written by me for #Plaid Kids Crafts and Blueprint Social. I was not compensated, but did receive free products, for writing this post. All opinions are 100% mine.]

They say that life's a beach. Here on the west coast, the Pacific Ocean offers us miles and miles of beautiful sandy shores, spectacular surf, breathtaking vistas, and of course, sensational sunsets. So the beach is the perfect place to throw a summer party for kids. And, of course, this means beachy party favors. As part of the Plaid Kids Crafts Summer Campaign, I received a box full of awesome craft supplies: Apple Barrel bright, neon and glow-in-the-dark acrylic paints, Mod Podge Extreme Glitter, Wash-Out for Kids Mod Podge, Glo-Away Gel, and alphabet stencils.

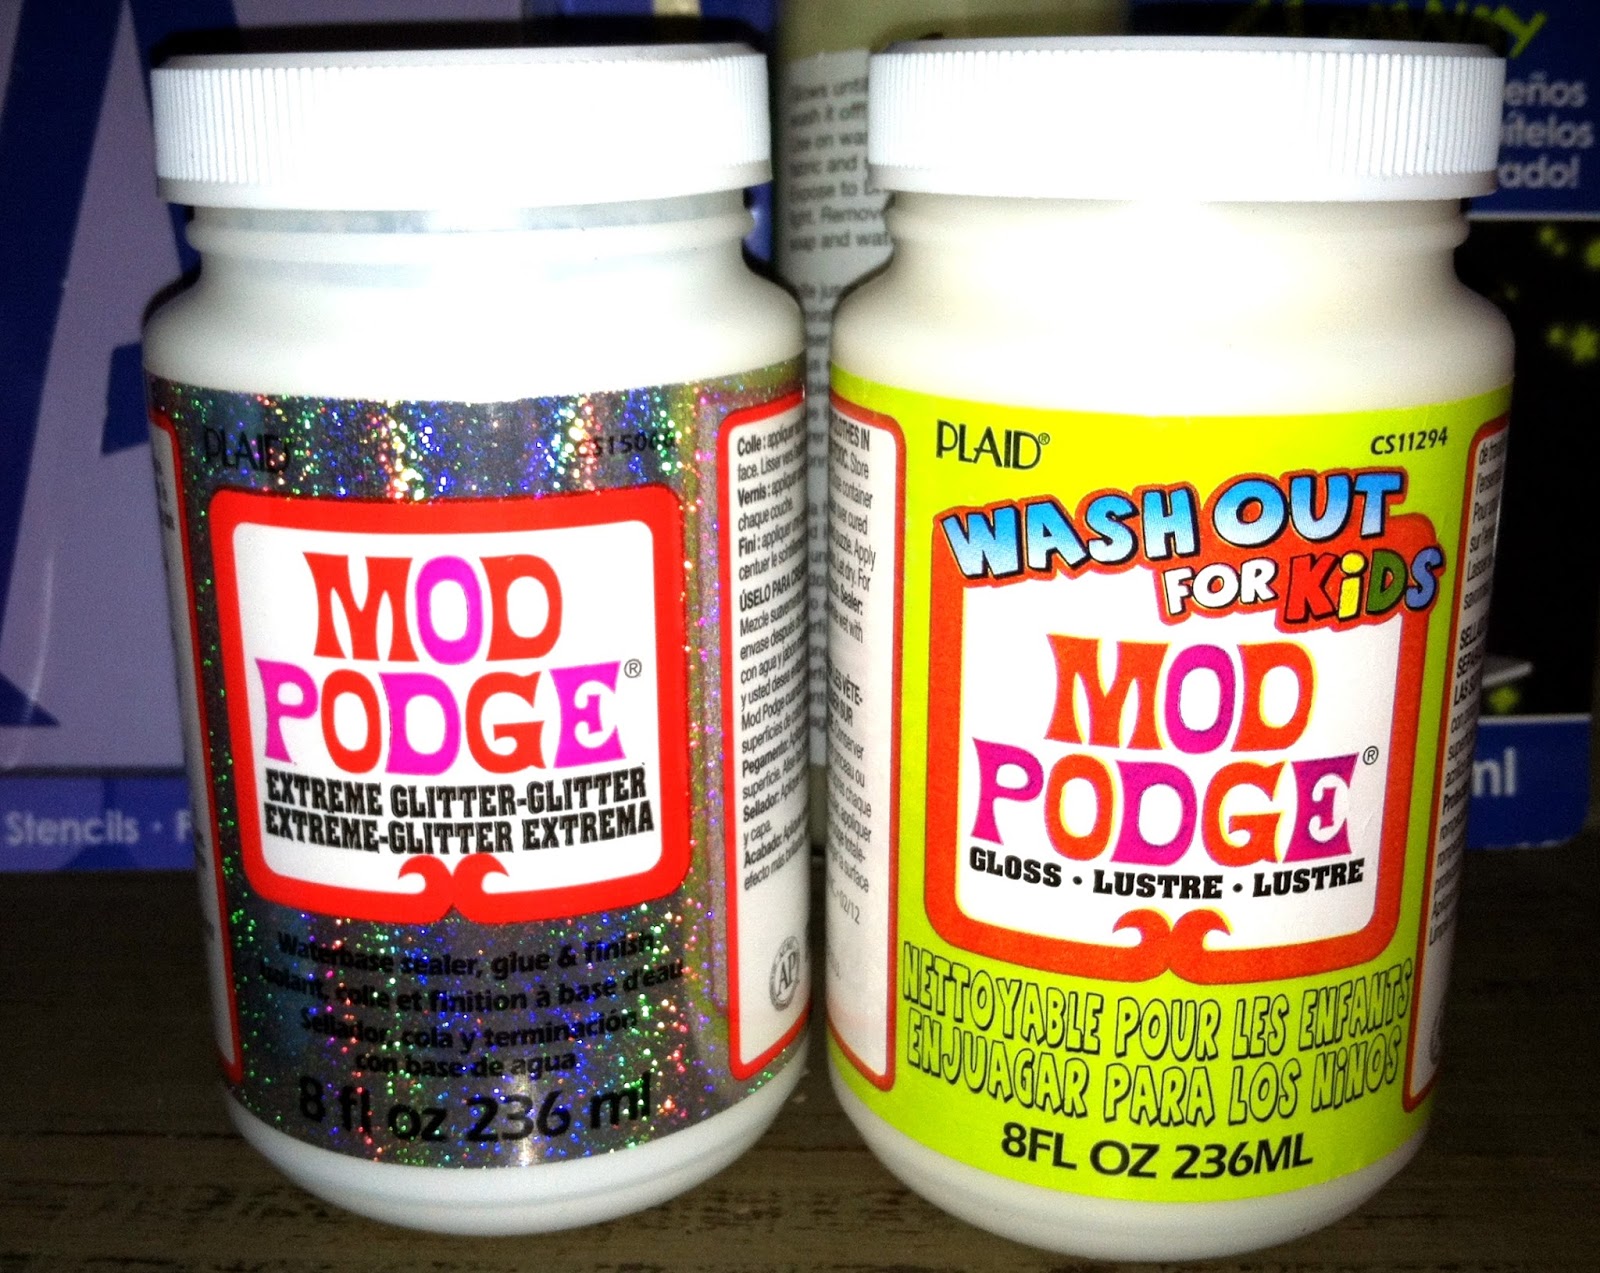
I thought these fun, summery craft products would be perfect to create glittery beach pails. Since these products are fun and safe for kids of all ages to use, each child at the party could decorate their own beach pail.
For this project, you will need:
Apple Barrel Acrylic Paints
[I used Bimini Blue, Yellow Glow in the Dark & Glow in the Dark Fluorescent Pink]
Extreme Glitter Mod Podge
Plaid Stencils
Foam brushes
Painter's Tape
A tin pail with handle
Large tags
[Optional: washi tape, buttons & twine]

1. Tape off sections of the pail and paint stripes.

Two coats of the paint nicely covered the pail. While still wet, remove painters tape.


3. Add Mod Podge Extreme Glitter.
I admit, I've never been much of a glittery kinda gal. However, after using Mod Podge Extreme Glitter, I am hooked. I brushed it onto the blue stripe, the yellow stripe, and the flowers! If my dog would've sat still, I may have even brushed a little glitter on him, too! While the Mod Podge was still wet, I added ric-rac to trim the top rim. For a little added flair, I glued some cute buttons to the center of the flowers. [I used a hot glue gun for this step.]

4. Embellish a personalized tag.

I embellished the tag with pink & black dotted washi tape. Grabbing the stencils again, I painted and glittered a number and a flower. This time, I used the punched-out portion of the stencil. Using the Mod Podge as an adhesive (yes, it's an adhesive, too!), I added the No. 1 and the flower to the tag.

5. Paint the pail handle and add Washi tape to coordinate with the tag.

These pails are perfect for a beach scavenger hunt. See who can collect the largest seashell, the smallest rock, a piece of seaweed, and whatever else one might find at the beach. Get your camera ready because the glitter will sparkle and the bright colors will pop when hit by the sun! And, of course, those kids are going to look adorbs!

That's it!
Let the snipe hunt beach party begin.

Sharing ideas at some of these parties!
For additional creative project ideas using these and other Plaid products, visit
- Pinterest: http://pinterest.com/plaidcrafts/


