

Ahh--another month, another project! Although my plan is to post altered art projects more frequently,
until the dust settles (literally, as we are painting the house), I hope this project will inspire you.
This wood plaque caught my eye at Michael's, and because it has a nice wooden frame and a sturdy wire hanger for embellishing, I decided to give it a go, even though it was one more item I didn't need. After this, I hope vow to create projects from my existing stash. Is there an organization out there for us arts & crafts collectors hoarders, maybe with a 12-step program? As long as I can embellish and mod podge the list, I promise I will try to follow it...maybe. However, in all fairness to my art budget, I spend less on all my stash than my husband spends on one of his ski weekends.
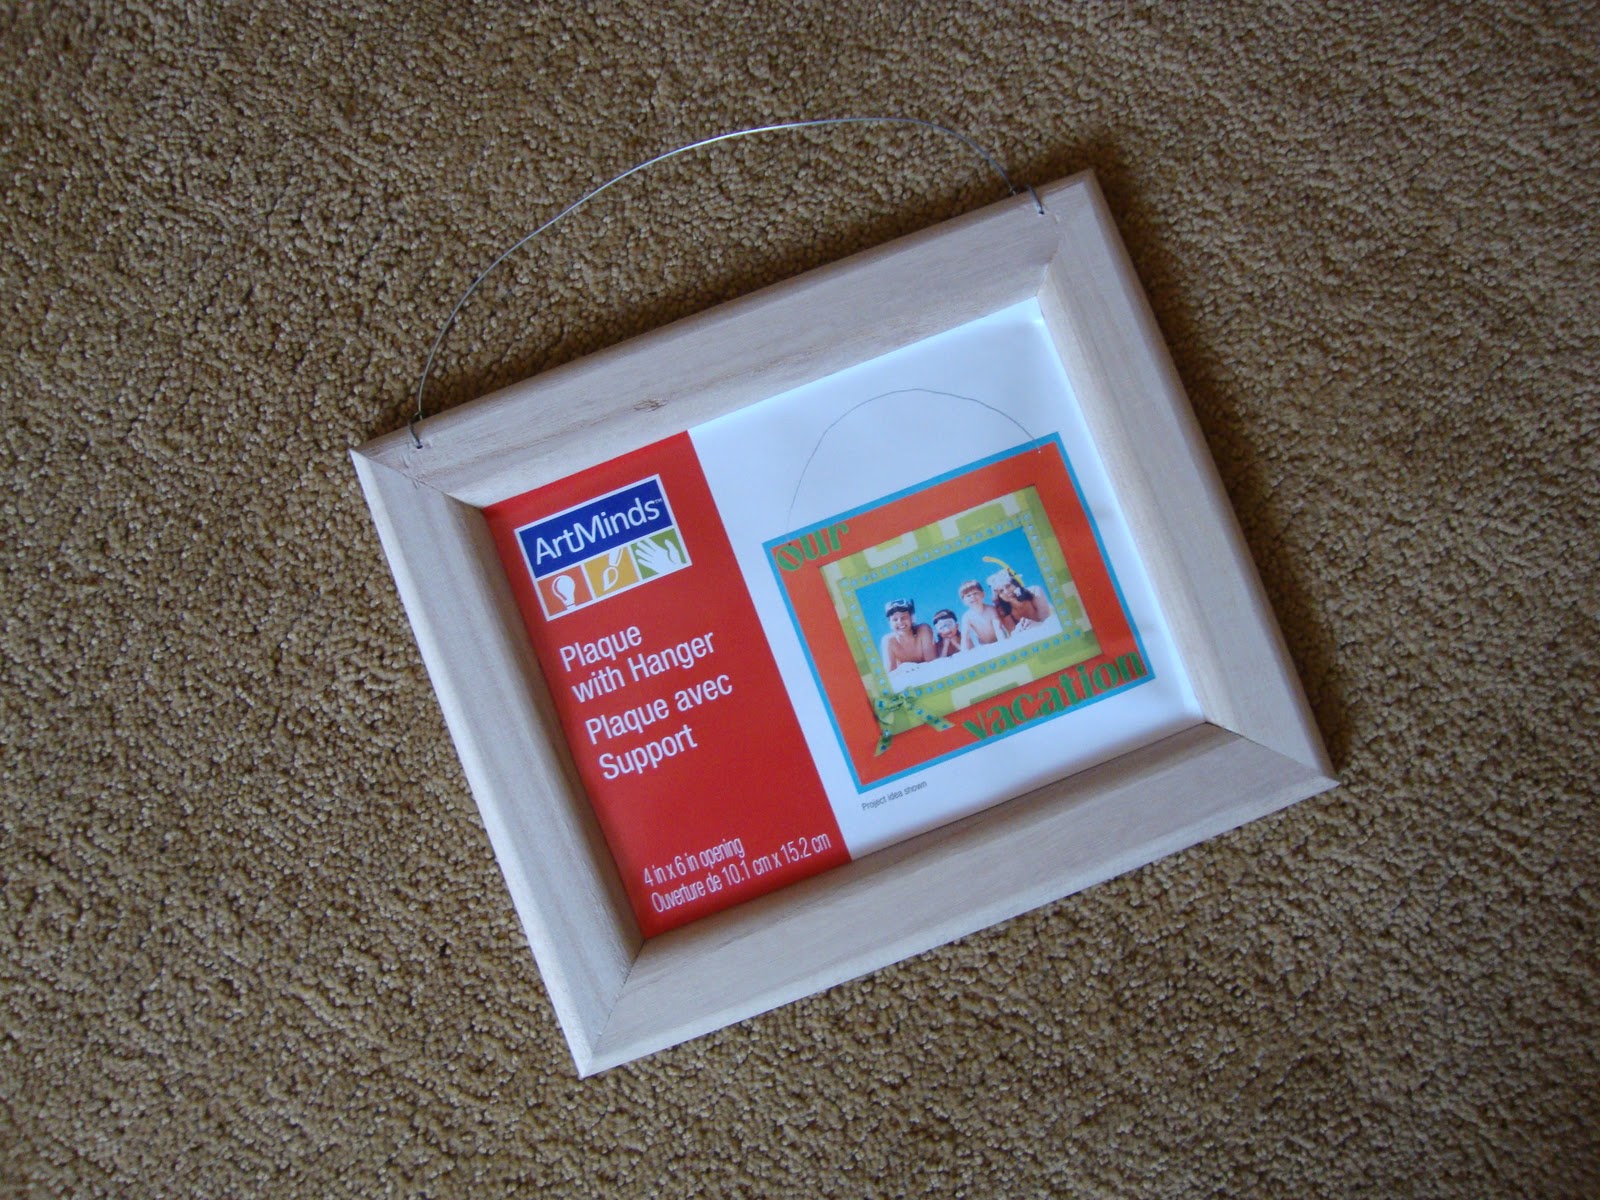
Starting with this mundane 7" x 9" wood frame, I chose vintage scrapbook paper, and cut out a 5-1/2" x 7" piece for the frame center. Before podging this, I picked out a beautiful buttery yellow paint for the outside frame edges, and a chocolaty brown color for the inset. (Hmm, butter and chocolate--sounds like it's time to bake some cookies.) After lining the inside frame with painter's tape to help me paint straight edges, I applied two coats of each color, allowing the first color to completely dry before applying the painter's tape for the next.
And now for the really fun part: choosing embellishments.
I picked out flowers, buttons, a heart clip, a metal "xoxo", L-O-V-E punch-out letters, a "with all my heart" sticker, clothespins, a metal tag, and coordinating ribbons.
Here are photos of the finished frame.

 |
| I modpodged the letters to slightly larger buttons and used a small button in place of the "O' sticker |


Because I love the idea of being able to interchange photos,
I adhered a 5" x 3-1/2" clear acrylic frame to the board.
and inserted pretty paper, which looks nice until a photo takes the spot.

I mod podged complementary paper to the clothespins
and to one of them, I tied a metal tag that reads, "with love."

And the before and after, a project true to my tag line,

"Transforming the mundane one embellishment at a time."
 Just joined. |
| Welcome to my new sorority sisters! |
Linking to: Rook No. 17


Doreen, this is delightful! How pretty!
ReplyDeleteDoreen, SUPER cute!!! I am going to feature this over on Thrilling Thursday tomorrow. Feel free to stop by and grab and "I Thrilled" featured button from my side bar if you want :) Thanks for linking up!
ReplyDeleteVisiting from the girl creative blog hop. you are so creative!! all of these look great :)
ReplyDeleteLove your projects, you're so crafty! Following you back. Come on over and link up one of your projects to our Wicked Awesome Wednesday link party, it's still open!
ReplyDeleteWhat a cool idea to add the frame in the center. I like.
ReplyDeletehiya , love this transformation x all the embellies are great and the pegs are a lovely touch . tfs
ReplyDeletehappy crafting
xmaggiex
Doreen, I love all of your artful and loving embellishments, transforming the ordinary frame into a meaningful treasure!
ReplyDelete