

[Editor's Note: For those of you who are reading this post in August, this is also a great idea for a back to school project!]
Yea, it's summertime! For many kids, summer means camp fun. Whether your children attend a sleepover camp, day camp, or even set up tents in your own backyard, it's always good to change up the routine and get into the summer groove. Today I'm sharing an E-Z tutorial to alter a plastic pencil box into a surprise package. Fill it with camp "must haves," and sneak it into your child's duffel bag before he or she goes off to camp.
Start with a plain plastic pencil box. Staples usually carries these in their dollar bins. Sometimes you can find them at dollar stores. And they come in a variety of colors.
 |
| Mundane pencil box screaming for embellishments |
 |
| Ribbon, rub-ons, rhinestones, buttons, etc. |
 |
| A little edging to emphasize the border |
 |
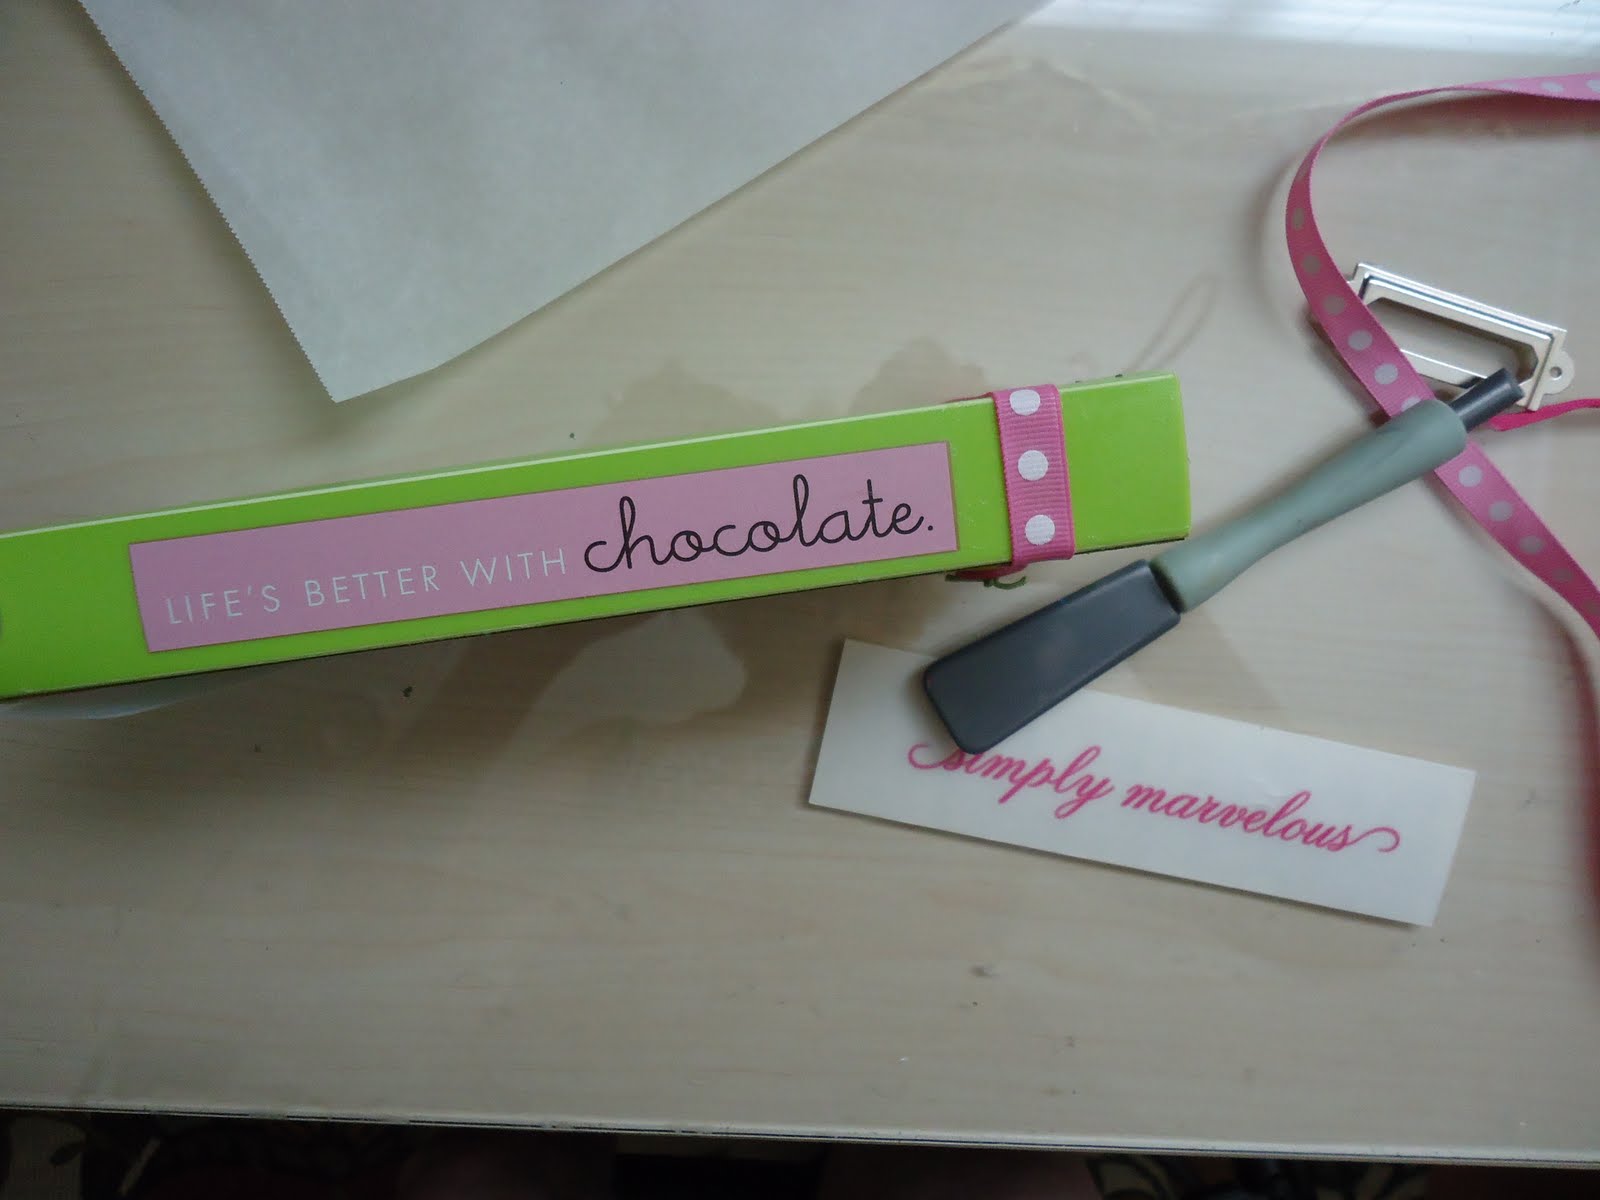 |
| "Life's Better with Chocolate" |
Slide out the inside tray, and podge the coordinating piece of paper to it.
 |
| Mod Podge the interior |

When completely dry, add your "ingredients." Suggestions: a pack of gum, band-aids, chap stick, mini suntan lotion, postage stamps, playing cards, and a mini note from home! The note can be folded into a business card-sized envelope, which fits perfectly inside the box.
And I know I just said it was the beginning of summer. However, this cute little box can easily be adapted for a back-to-school gift. Add new pencils, pens, erasers, sharpener, and a 6" ruler for a great first day of school surprise. Taking it one step further, I created a coordinating note holder (from a wooden clothespin) and a tile coaster to hold a water bottle in place. There's something about a coordinating ensemble that just oozes fun!
You may also enjoy these posts:


Sharing here and:


Great idea. I'm pinning this one!
ReplyDeleteAwesome project! I love this idea!Thanks so much for sharing the great tutorial! Would love to have you visit me sometime.
ReplyDeleteHave a fabulous sunday and a fun week!
Hugs from Portugal,
Ana Love Craft
www.lovecraft2012.blogspot.com
So cute! Love this project, thanks for sharing.
ReplyDeleteThis is an awesome idea! I love it! Thanks for sharing at Party In Polka Dots!
ReplyDeleteShelley
www.piggyinpolkadots.com
Wow, you are so talented! just love it! Stopping by from Party in Polka Dots' Linky Party.
ReplyDeleteChristine :)
http://www.myepicureanadventures.com
These are wonderful! I love how summery they are!
ReplyDeleteI'd like to invite you to come link up with our party this week also!
http://www.sowderingabout.com/2013/06/on-display-monday-7.html
Wow. I am so not worthy. And thankful that all Stepson cares about is camo, camo, camo. I am seriously DIY-challenged, but love to see projects like yours for the inspiration and to help me get out of my comfort zone and try. Hugs, Holly
ReplyDeletehttp://coconutheadsurvivalguide.com/camp-care-package-diy/
Great project Doreen, you've earned yourself a feature, yippee! thanks for sharing on craft schooling sunday!
ReplyDeleteSuch a cute and thoughtful idea! I'm so glad you shared it at the Rock 'N Share! Hope you’ll join the party again soon! Have a great holiday! Blessings, D@TheShadyPorch
ReplyDeleteOMG these are stunning, gorgeous details and colors. Beautiful layout. Excellent work you did.
ReplyDeleteScrapbooking Supplies
Super cute idea - so much better than the plastic!
ReplyDeleteStopping by from the CSI challenge. I love how creative this is - taking something so plain and making it so personal is something I love. This is amazing! :-)
ReplyDeleteSuper cute! We have several plain little boxes that would be so livened up by this. Thanks!
ReplyDeleteIf a camp allows it, creative care packages may include baked goods, candies, fruit roll-ups, granola bars and other treats. A large zippered plastic bag may be included to keep such items fresh and free from pests.
ReplyDeleteKids gift packages