PLEASE VISIT MY NEW BLOG

Showing posts with label glitter. Show all posts

Friday, July 26, 2013

Glittery Beach Party Favors

[This is a sponsored post written by me for #Plaid Kids Crafts and Blueprint Social.  I was not compensated, but did receive free products, for writing this post. All opinions are 100% mine.]
 
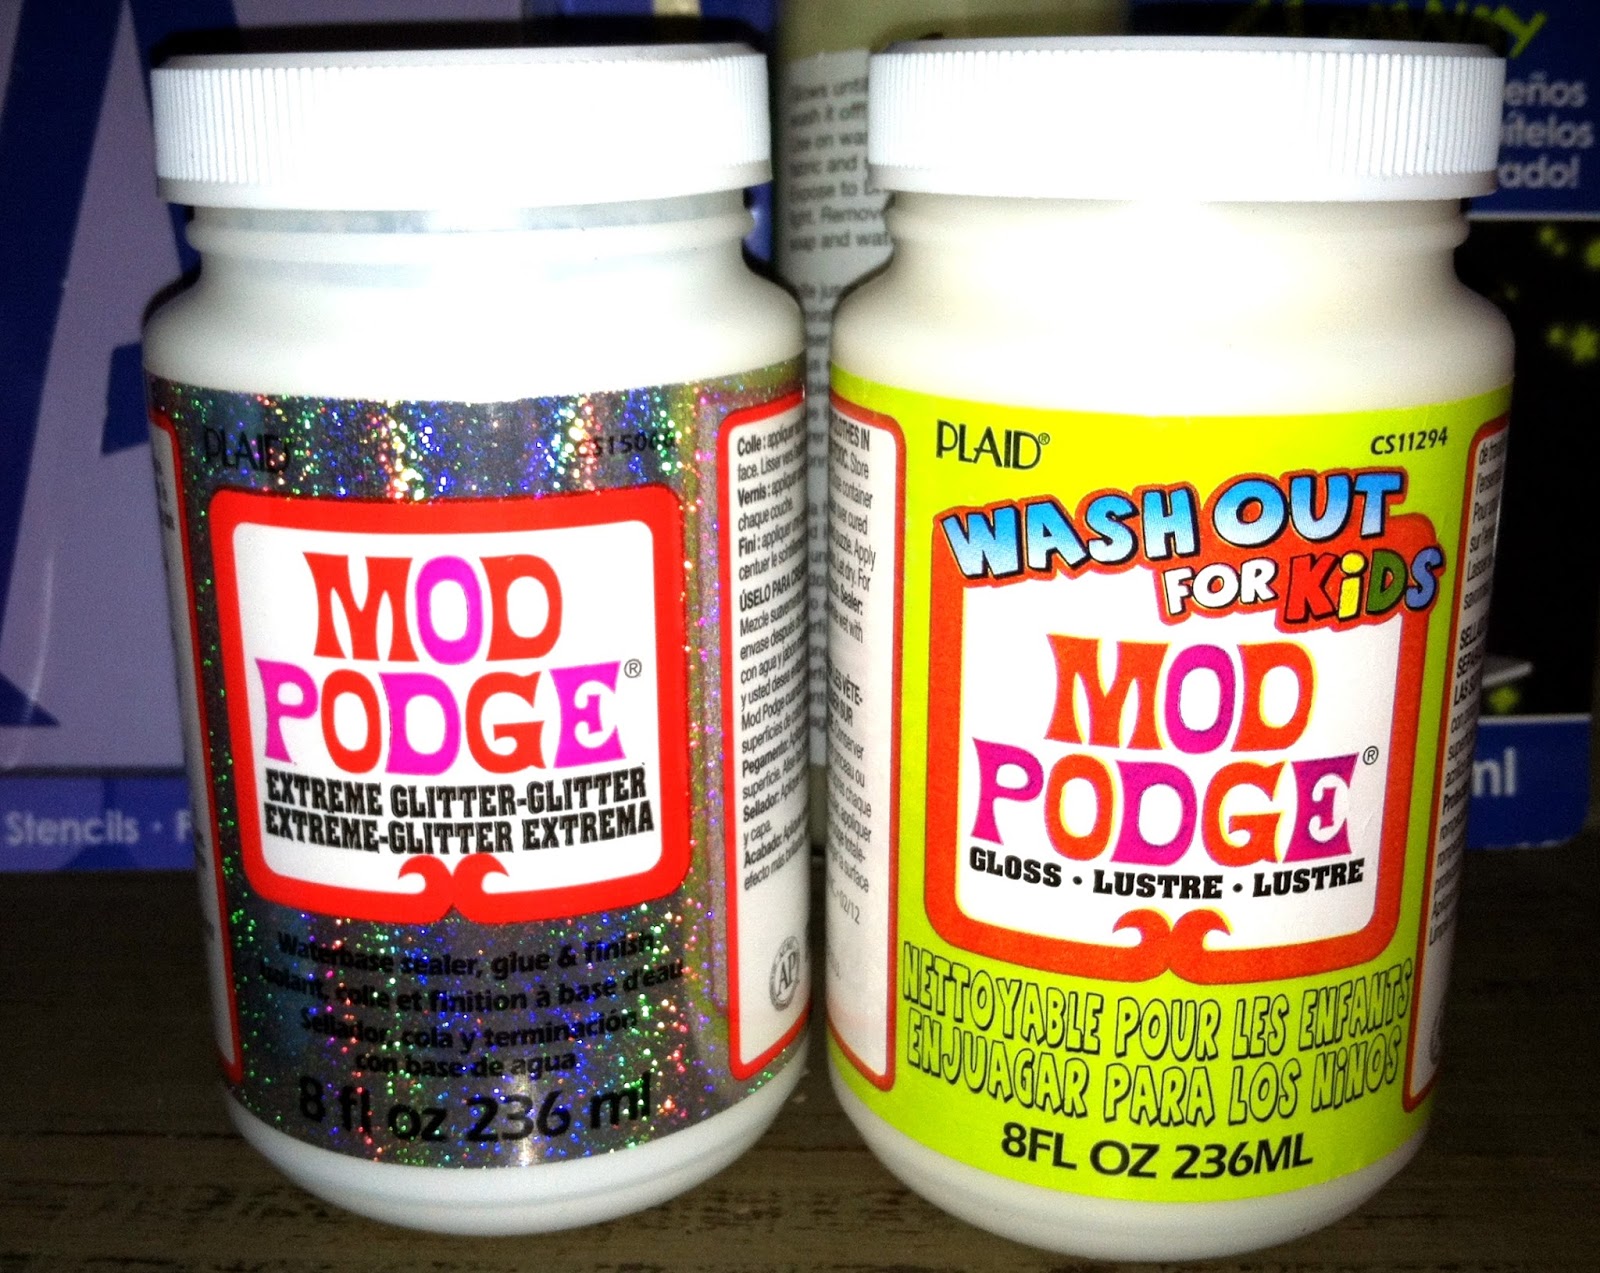
They say that life's a beach.  Here on the west coast, the Pacific Ocean offers us miles and miles of beautiful sandy shores, spectacular surf, breathtaking vistas, and of course, sensational sunsets.  So the beach is the perfect place to throw a summer party for kids.  And, of course, this means beachy party favors.  As part of the Plaid Kids Crafts Summer Campaign, I received a box full of awesome craft supplies:  Apple Barrel bright, neon and glow-in-the-dark acrylic paints, Mod Podge Extreme Glitter, Wash-Out for Kids Mod Podge, Glo-Away Gel, and alphabet stencils. 


I thought these fun, summery craft products would be perfect to create glittery beach pails.  Since these products are fun and safe for kids of all ages to use, each child at the party could decorate their own beach pail. 

For this project, you will need:

Apple Barrel Acrylic Paints
[I used Bimini Blue, Yellow Glow in the Dark & Glow in the Dark Fluorescent Pink]
Extreme Glitter Mod Podge
Plaid Stencils
Foam brushes
Painter's Tape
A tin pail with handle
Large tags
[Optional: washi tape, buttons & twine]

1.  Tape off sections of the pail and paint stripes. 

Two coats of the paint nicely covered the pail. While still wet, remove painters tape. 
 
2.  Choose a stencil, and tape it to the side of the pail.  In the alphabet stencil sets, I was pleasantly surprised to find shapes and numbers, too.  I went with the flower.
 
Using a pouncing motion, paint inside the stencil.  Move the stencil around the pail to create additional flowers.  Allow paint to dry.


3.  Add Mod Podge Extreme Glitter. 
I admit, I've never been much of a glittery kinda gal.  However, after using Mod Podge Extreme Glitter, I am hooked. I brushed it onto the blue stripe, the yellow stripe, and the flowers!  If my dog would've sat still, I may have even brushed a little glitter on him, too!  While the Mod Podge was still wet, I added ric-rac to trim the top rim.  For a little added flair, I glued some cute buttons to the center of the flowers.  [I used a hot glue gun for this step.]

4.  Embellish a personalized tag. 
 
I embellished the tag with pink & black dotted washi tape.  Grabbing the stencils again, I painted and glittered a number and a flower.  This time, I used the punched-out portion of the stencil.  Using the Mod Podge as an adhesive (yes, it's an adhesive, too!), I added the No. 1 and the flower to the tag. 

5.  Paint the pail handle and add Washi tape to coordinate with the tag.

Pin It
 
These pails are perfect for a beach scavenger hunt. See who can collect the largest seashell, the smallest rock, a piece of seaweed, and whatever else one might find at the beach. Get your camera ready because the glitter will sparkle and the bright colors will pop when hit by the sun!  And, of course, those kids are going to look adorbs!
 
That's it! 
Let the snipe hunt beach party begin.

 
The Well Crafted Home
 
Sharing ideas at some of these parties!
 
For additional creative project ideas using these and other Plaid products, visit
 

To see even more bright ideas using Plaid Kids Crafts:


Thursday, November 29, 2012

Sparkle, Shimmer & Twine with Tulip Shimmer Sheets


Burlap and twine are two of my favorite "go-to" [also known as "must-have"] embellishments.  I love their natural, earthy look and texture.  However, as we all know, opposites attract.  This became evident once again when a brown paper package recently arrived on my doorstep.  I quickly opened the package to find a goldmine of Tulip's Fashion Glitter and Shimmer Transfer Sheets.
As I am participating in Tulip's Shimmer Holiday 2012 campaign, Tulip sent me a great selection of their glittery and shimmery products to try.  I decided to combine my "go to" favorites with Tulip's Fashion Glitter Shimmer Transfer Sheets and their Glam-It-Up Iron-on Glass Crystals to create a set of glass candle holders that will literally make the holidays shine!  

Here's a tutorial on this holiday DIY project.  In addition to the Shimmer Transfer Sheets and Glass Crystals, gather the following materials:  burlap, three tall glass cylinders [hello, dollar store] and baker's twine.  You will also need circle punches, a paper cutter, an iron, double-sided tape, and a hot glue gun.
First, iron the burlap so it lays flat and wrinkle-free.
Cut out three pieces of burlap, each 4" wide x 12" long.  This was a good size for my glass cylinders allowing for a one-inch overlap. 

Punch several small and large circles from the red shimmer transfer sheet.  I was pleasantly surprised by how easy the punches worked with the shimmer sheets.
Carefully position the shimmer circles, smooth side down, on your first piece of burlap.  Place a clean dishtowel [or other lightweight cloth] on top of the burlap.  Using a hot iron, press your design for approximately 40 seconds. 
When I lifted the towel, I wondered how a few of the circles ended up on the towel.  When I looked closer, I realized I had placed a few of the circles wrong side up on the burlap, so they adhered to the towel instead.  I guess that is one way you can decorate two items at once! 
After a few additional punched circles and a little more ironing,
I ended up with this design, much better for the intended project.
For the second candle holder, cut long strips from the red and gold shimmer transfer sheets.  Since I cannot cut a straight line, I used a paper cutter, which worked out perfectly.   Then iron the strips onto the burlap in the same way as above. 
 
For the third candle holder, cut small triangles to create a banner.  Place them in a curvy line.
After ironing the triangles onto the burlap, adhere twine above the triangles to create a banner. [I found that a hot glue gun worked best for this step.]

Then, using Tulip's Glam-It-Up Heat Setting Tool, adhere red Glass Crystals to the top and bottom of each triangle.  The heat-setting tool made it so easy to adhere the crystals exactly where I wanted them. 
Is it just me, or do the triangles seem to resemble reindeer?
 
Adhere the burlap strips to the cylinders using double-sided sticky tape. 
 
Then add a few embellishments:
Perhaps a bow tie
[also made from the shimmer sheets]
Or use twine to tie cinnamon sticks and holly around the burlap.
Add pillar candles, and you have a beautiful centerpiece ready to be displayed on a table or mantel just in time for the holidays.
Pin It

There you have it!  Burlap and Sparkle!  Who knew? 

Thank you, Tulip, for inspiring me with your beautiful shimmer and glitter products.  For many more shimmery and glittery ideas, visit Tulip at: http://www.ilovetocreate.com/
Facebook: https://www.facebook.com/lovetocreate
Twitter: https://twitter.com/ilovetocreate
Pinterest: http://pinterest.com/ilovetocreate
 
[All opinions expressed here are 100% my own. Find my full disclosure here.]

 You can find even more creative ideas here:


Attending these parties:
Winter Wonders & Holiday Happenings
Navy Wifey Peters, Love & Laundry, Katherine's Corner, I Gotta Create, House of Hepworth's, The 36th Avenue, Yesterday on Tuesday, Katie's Nesting Spot, A Glimpse Inside, Beyond the Picket Fence, 12 Days of Christmas, Someday Crafts, Sugar & Dots, Vintage Wanna Bee, Cowgirl Up Link Party, Bloom Designs, Craftionary, French Country Cottage, 52 Mantels, Momnivore's Dilemma, simply kierste, The CSI Project, From My Front Porch to Yours, Whipperberry, Answer is Chocolate, Doodles & Stitches, Primp Junktion, My Simple Homelife, It's a Hodgepodge Life, My Repurposed Life, The Chicken Chick, Serenity Now, Shaken Together Life, Create, Craft, Love, Twigg Studio, Maybe Mathilda, Two Twenty-One, Serendipity & Spice, Keeping It Simple, The Gunny Sack, Brassy Apple, Our Delightful Home, Practically Functional, Primp Junktion, Or So She SaysSewing Barefoot, ninth street notions, Skip to my Lou, The Dedicated House, Say Not Sweet Anne, A Bowl Full of Lemons, 733 Blog, Shanty 2 Chic, Inspired by Charm, No Minimalist Here, It's Overflowing with Creativity
Related Posts Plugin for WordPress, Blogger...