PLEASE VISIT MY NEW BLOG

Showing posts with label organization. Show all posts

Friday, June 1, 2012

Coffee Notes [Altered Chalkboard]

                          chalkboard projects

You can never have too much of a good thing.  Like good friends.  Good coffee.  And a good place for notes.  Combine these three, and you get a Coffee Notes Chalkboard! 
While casually strolling the clearance bins at "T" last week, I spotted large chalkboards at 70% off the regular price of $2.50.  A quick calculation told me that is only 75 cents each!  At that price, I quickly pounced on picked up the seven that were left in the bin, and raced made my way to the checkout line.
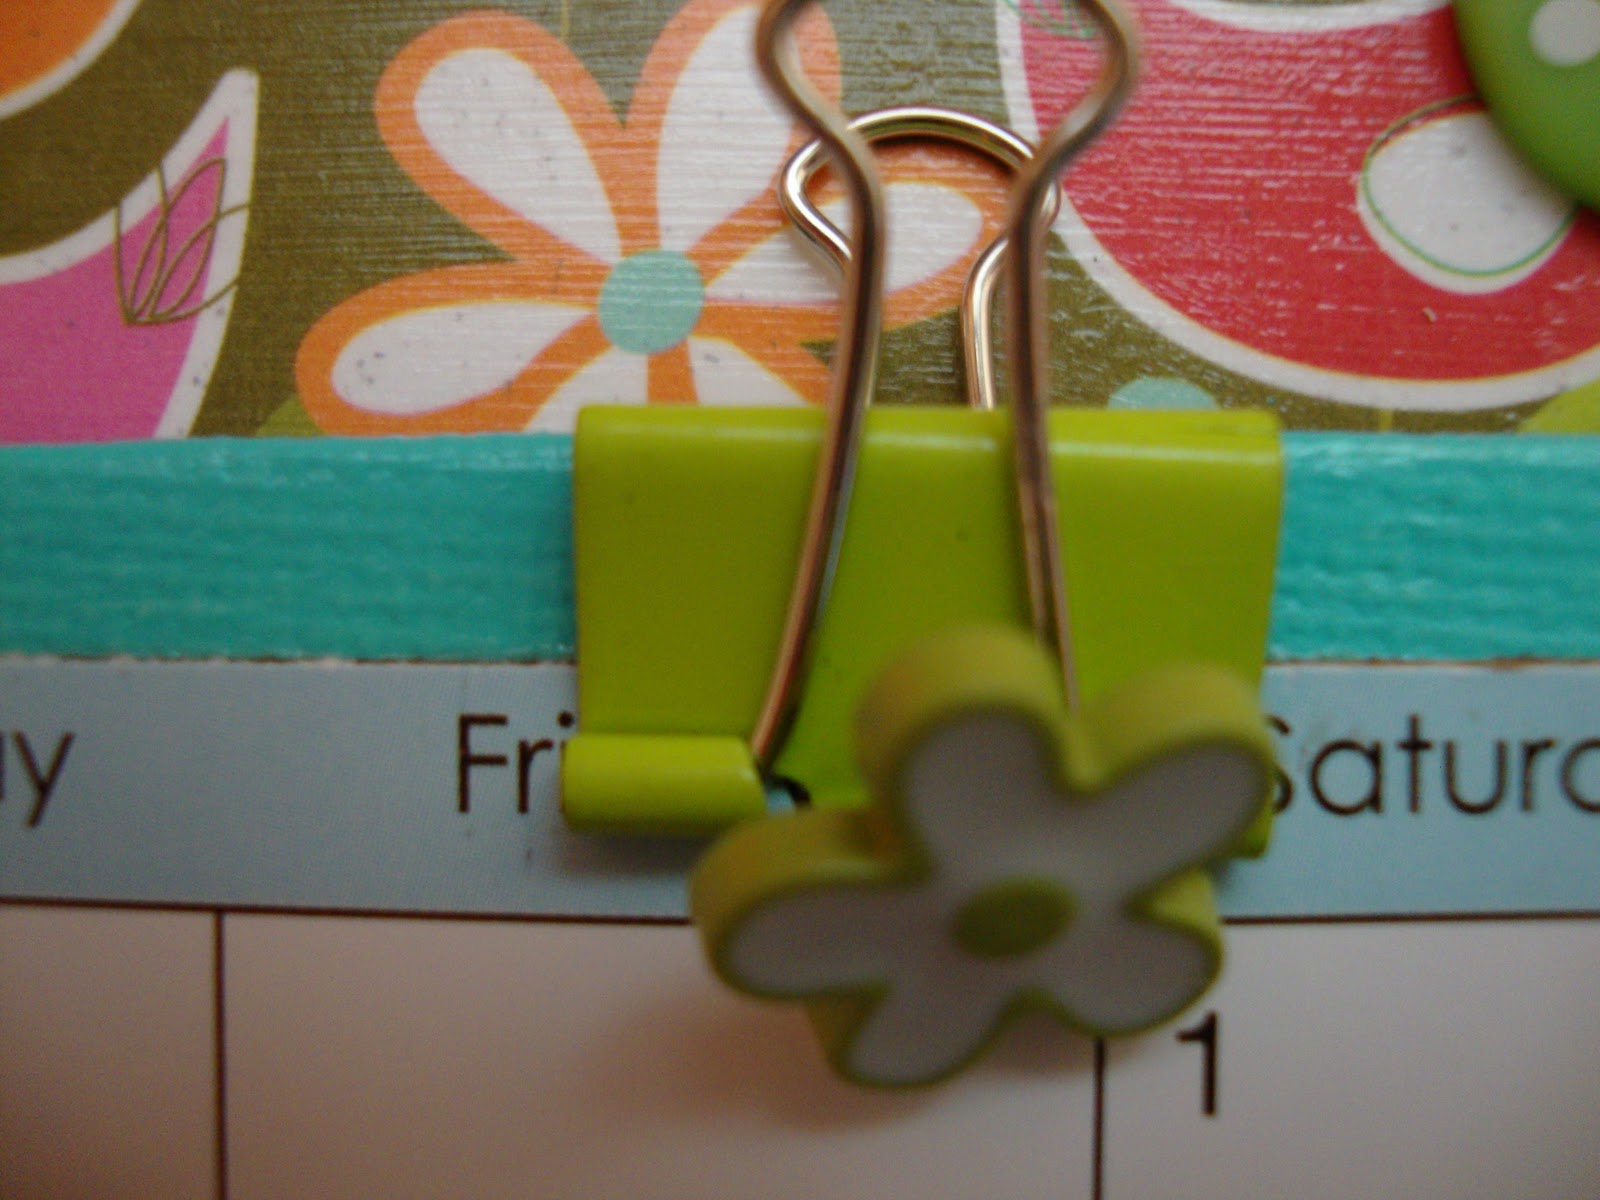
Since I wasn't planning to use this as a scoreboard, I gathered crafting goodness from my stash with a coffee theme including chipboard letters, stickers, scrapbook paper, ribbon, ric rac, buttons and twine.

With Mod Podge [don't leave home without it], I adhered paper and ribbon to the top of the chalkboard and added two coffee stickers to the board as well.

Since this is, after all, a chalkboard, I needed a place to hold chalk.  This mint tin container was the perfect size.

I Mod Podged the tin container with paper, ribbon and ric rac. Typed out the word "chalk" using my handy label maker [which I've owned since the 3rd grade].  Using the chipboard, spelled out "notes" and, just for fun, placed the "s" onto the altered tin container.  Using adhesive squares, I adhered the container to the chalkboard.  And, of course, included a few pieces of chalk.
I tied twine around the chalkboard, finishing it into a bow, and added two buttons (a coffee pot and a cup) to complete the altered project.
coffee notes
So, where do "good friends" come into this project? 

Pin It
[Good] friends don't let friends drink decaf!

Friday, January 6, 2012

Welcome 2012: Enter at Your Own Risk

Happy New Year!  Hope you had a wonderful and creative holiday season. 

Have you packed up all the holiday decorations yet?  We did.  It's always so nice to bring them out from the garage every year.  Then it's a chore great putting them away. 

Our home always looks so clean afterwards with just one exception:  my craft cave.  [I call it a cave because it is slightly larger than our master bathroom.]  It is currently a dangerous "Enter at Your Own Risk" space with craft supplies everywhere except where they should be: spread out on the floor, piled high upon the chair, and strewn across my desk.  Everything needs to be organized.  Ugh!  All I want to do is create new altered art projects.  However, I cannot even walk into the room without tripping on a cutting board and hundreds of ribbon spools.


So in the spirit of recycling, and in avoidance of the inevitable purging and organizing that awaits, I offer you my first post from last year as the first post of this year!   However, I've left out the rhetoric.  I'm not going to even pretend that I achieved all my goals.  That's what January is all about. It's the start of a new year. Everyone gets a clean slate to tackle the old and bring in the new resolutions, goals, aspirations and ideas.

So good luck to me, and good luck to you!  Ready, Set, Go! 
Calendar & Photo Canvas

Material List:
  • 9" x 12" and 6 x 8" canvas panels
  • coordinating scrapbook paper cut 8-1/2" x 11-1/2" and 5-1/2" x 7-1/2"
  • acrylic paint & foam brushes
  • Acrylic adhesive sealer
  • Binder clips
  • Buttons
  • Spiral paper clip
  • Hemp cord
  • calendar, cut to fit smaller canvas (I found these for 50 cents at Michael's)
  • metal label holder & brads
  • 4" x 6" acrylic flat photo frame
  • photo (which is interchangeable)
  • double-sided foam tape
  • assorted ribbon, ric-rac
  • silk flower (cut from stem and backing)
  • number stickers
  • hot glue gun


If you like the bright color combination used for this calendar canvas, click here to see the matching mail & note holder I made last year.  Also, I have a written tutorial available.  If you would like a copy, just leave me a comment with your email address :) 

And here's another calendar canvas created with a different color scheme:


Editor's Note:  I plan to clean up the craft cave this weekend, and create something new, and post it next month sometime week.  Also, for those of you keeping count, I admit to only posting four Chanukah projects in my Eight Projects of Chanukah series.  [sigh]
Doreen

Attending these wonderful parties:  Oopsey Daisy, The Answer is Chocolate, 504 Main,

Saturday, April 9, 2011

Tin Can Alley


In order to stay grounded, it is important to reflect on where you come from.  In my case, creatively speaking anyway, one of the very first crafty things I did was altering used food cans with pretty paper.  As "scrapbook paper" wasn't around in the 60's, I used wrapping paper and wallpaper book samples.  

I carefully measured the can's perimeter and length, and then cut (with scissors, no paper cutters then either)the paper to the appropriate size.   To make it stick, stay stuck and protect it from tearing, I used Mod Podge.  I think I was MP's very first Facebook fan.  And because I've always been good at multi-tasking (a girl can dream, can't she?), this project probably also fulfilled one of my Girl Scout badges!  

So, here is today's take on one of my earliest altered artwork projects.  Sure wish I had a photo of the ones I made a mere few decades ago. 

Coordinating paper to mix & match


The cans covered with beautiful patterned paper


Bright acrylic paint to coordinate perfectly with the paper


Painted wooden clothespins


Altered painted clothespins with paper, ribbon and matching tags


Finished can embellished with flower, button, ribbon, and rhinestones.
And clipped clothespin with attached tag.  This one is for brushes.


And this one for my scraps of ribbon.


For my markers.


This tiny can was added to the mix to house my pink button collection.


My new colorful cans to help me stay organized.
Now to organize the rest of my life...       
Pin It
Made in a Day

mop it up mondays feature

Linking to these fun parties:

Wednesdays @ 7pm CST:
Made in a Day


It Pays To Be Cheap
 Nifty Thrifty Things

todayscreative blog
 Beyond the Picket Fence Under $100 Linky Party
Wayward Girls Crafts Weekend
thecreativecrate creative-lyweekendparty
Weekend-blog-hop
Today's Creative Blog
Metamorphosis Monday
New Nostalgia
Lindsey's Inspiring Creations
Paisley Passions Thrilling Thursday
Making the World Cuter Mondays

Wednesday, September 1, 2010

From Mundane Hardware Organizer to Beautiful Button Armoire

Ahhh - I love when I find a few "JFM" (Just for Me) hours.  Today was just that kinda day. 

I left the house early, dropped off The Dog at the groomer's, and knowing it was going to be over 90 degrees today, grabbed a nice, cold iced Venti Latte, then headed to two of my favorite stores:  HomeGoods and Big Lots!  I bought a couple of cutesy kitchen items at HG, but felt like I needed something more....or less.  So I drove a few blocks farther to the neighborhood Big Lots. 

Up and down the aisle I strolled, sipping my latte as I sought out treasures.  Sadly, due to the Halloween decor that is already stocking the shelves, there wasn't too much that caught my eye...UNTIL...I ventured into the automobile & hardware aisle, and there it was:  my $10 treasure:  The Trades Pro 1000-piece Hardware Organizer #836376.   The box read "100% Satisfaction Guaranteed", so how could I go wrong?  Here is what it looked like when I got it home:

I emptied the container of its cumbersome 1000 pieces of nails, screws, thumbtacks, bolts, and whatever else they threw in there.

And here is the mundane toolbox ready to be altered.  Note there are 25 clear drawers!


Then, the fun began.  After a quick bite (really, who has time to eat when there is altered artwork to be done?), I got out everything I needed:  one of my favorite designer 12" x 12" paper (all you need is one piece), foam brush, ruler and a pencil, brayer, label maker, and any embellishments you want to use including (but not limited to) ribbon, label holder, brads, and of course, buttons!


I measured and cut the paper to fit both sides and top of box.  Well, I actually decided to cut the side pieces a bit longer, and overlapped them onto the top to create a nice edge. 


Then I added the top piece, applied more Mod Podge,
and used my brayer to press out any air bubbles that may have snuck in.


I added ribbon along the edges, a chipboard label, brads, a flower with attached button,
and I used my label maker to write "For the love of buttons".
And here is the finished button armoire. 
I am going to "label" each drawer with the colored button, and fill the drawers accordingly. 
I love organization!

Linking up to:
Organize and Decorate Everything


Related Posts Plugin for WordPress, Blogger...