

Have you packed up all the holiday decorations yet? We did. It's always so nice to bring them out from the garage every year. Then it's
Our home always looks so clean afterwards with just one exception: my craft cave. [I call it a cave because it is slightly larger than our master bathroom.] It is currently a dangerous "Enter at Your Own Risk" space with craft supplies everywhere except where they should be: spread out on the floor, piled high upon the chair, and strewn across my desk. Everything needs to be organized. Ugh! All I want to do is create new altered art projects. However, I cannot even walk into the room without tripping on a cutting board and hundreds of ribbon spools.
So in the spirit of recycling, and in avoidance of the inevitable purging and organizing that awaits, I offer you my first post from last year as the first post of this year! However, I've left out the rhetoric. I'm not going to even pretend that I achieved all my goals. That's what January is all about. It's the start of a new year. Everyone gets a clean slate to tackle the old and bring in the new resolutions, goals, aspirations and ideas.
So good luck to me, and good luck to you! Ready, Set, Go!

Calendar & Photo Canvas

Material List:
- 9" x 12" and 6 x 8" canvas panels
- coordinating scrapbook paper cut 8-1/2" x 11-1/2" and 5-1/2" x 7-1/2"
- acrylic paint & foam brushes
- Acrylic adhesive sealer
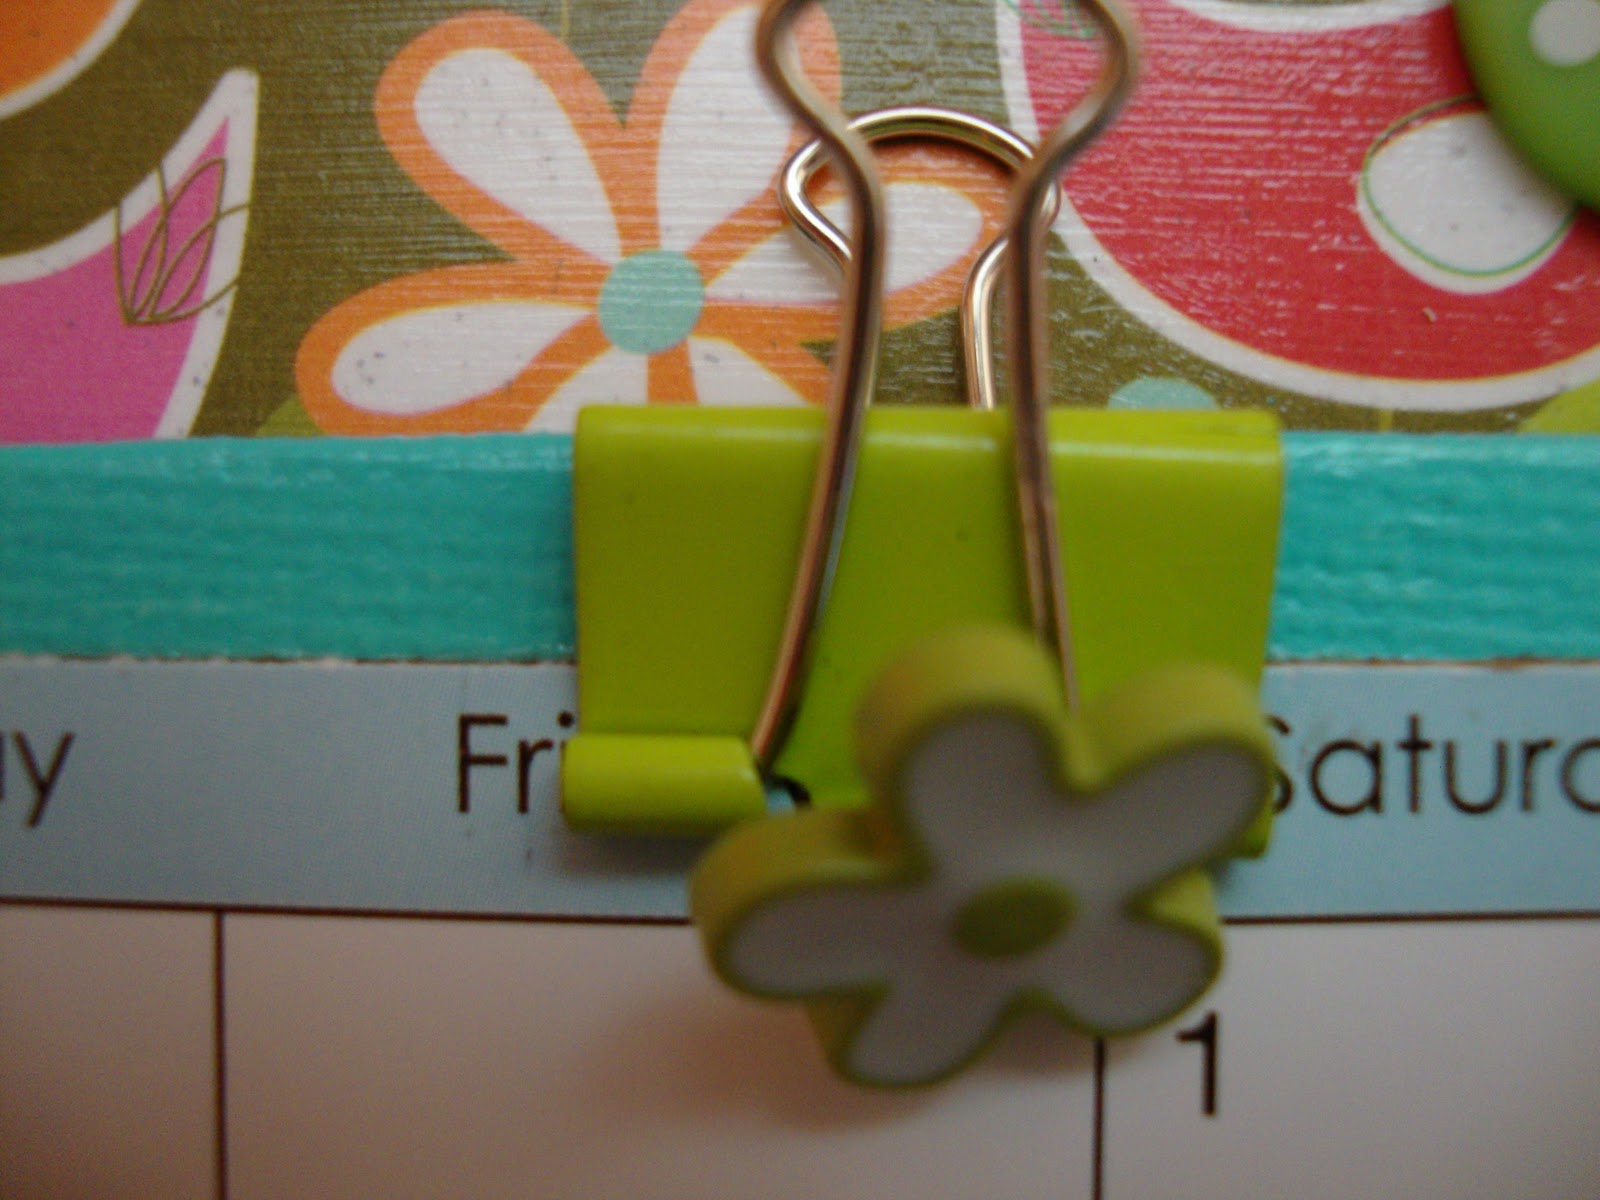
- Binder clips
- Buttons
- Spiral paper clip
- Hemp cord
- calendar, cut to fit smaller canvas (I found these for 50 cents at Michael's)
- metal label holder & brads
- 4" x 6" acrylic flat photo frame
- photo (which is interchangeable)
- double-sided foam tape
- assorted ribbon, ric-rac
- silk flower (cut from stem and backing)
- number stickers
- hot glue gun


If you like the bright color combination used for this calendar canvas, click here to see the matching mail & note holder I made last year. Also, I have a written tutorial available. If you would like a copy, just leave me a comment with your email address :)
And here's another calendar canvas created with a different color scheme:

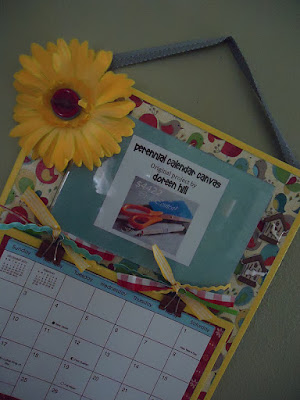


And here's another calendar canvas created with a different color scheme:


Editor's Note: I plan to clean up the craft cave this weekend, and create something new, and post it next month sometime week. Also, for those of you keeping count, I admit to only posting four Chanukah projects in my Eight Projects of Chanukah series. [sigh]
Doreen
Attending these wonderful parties: Oopsey Daisy, The Answer is Chocolate, 504 Main,
Positively Splendid, Flamingo Toes, Making the World Cuter Craft-o-Maniac, Project Queen, Today's Creative Blog, Rook No.17, Someday Crafts Whatever Goes Wednesday, Oopsey Daisy, Ginger Snaps Crafts, Passionately Artistic, The Girl Creative Lil Luna, Dumpster Diva, Happy Hour Projects, A Glimpse Inside, Saved by Suzy, Katherine's Corner, Homemaker in Heels, It's Overflowing with Creativity


