PLEASE VISIT MY NEW BLOG

Tuesday, January 24, 2012

A Coordinated Ensemble

Here it is late January, and I'm still writing up my to-do-list for the new year.  So many things to take care of.  One of my resolutions is to carve out crafting time a few times a week.  Until I get this prioritized, I have decided to re-post favorite Valentine's Day theme projects.  Here's one which includes an entire coordinated ensemble.  Enjoy!

A heartfelt handmade gift means so much, both to the giver and receiver. You know how much love goes into making something special, so it is equally important to know who your recipient is as you create it.

I decided it would be fun to create an entire coordinated ensemble of altered artwork to mix and match for a good friend or two.

Finding vintage-style coordinating scrapbook paper online a few years ago, I loved it so much that I bought all that was available. It's a subtle Valentine mix of dark red, soft yellow, sage and black -not a hint of pink or bright red in the bunch.
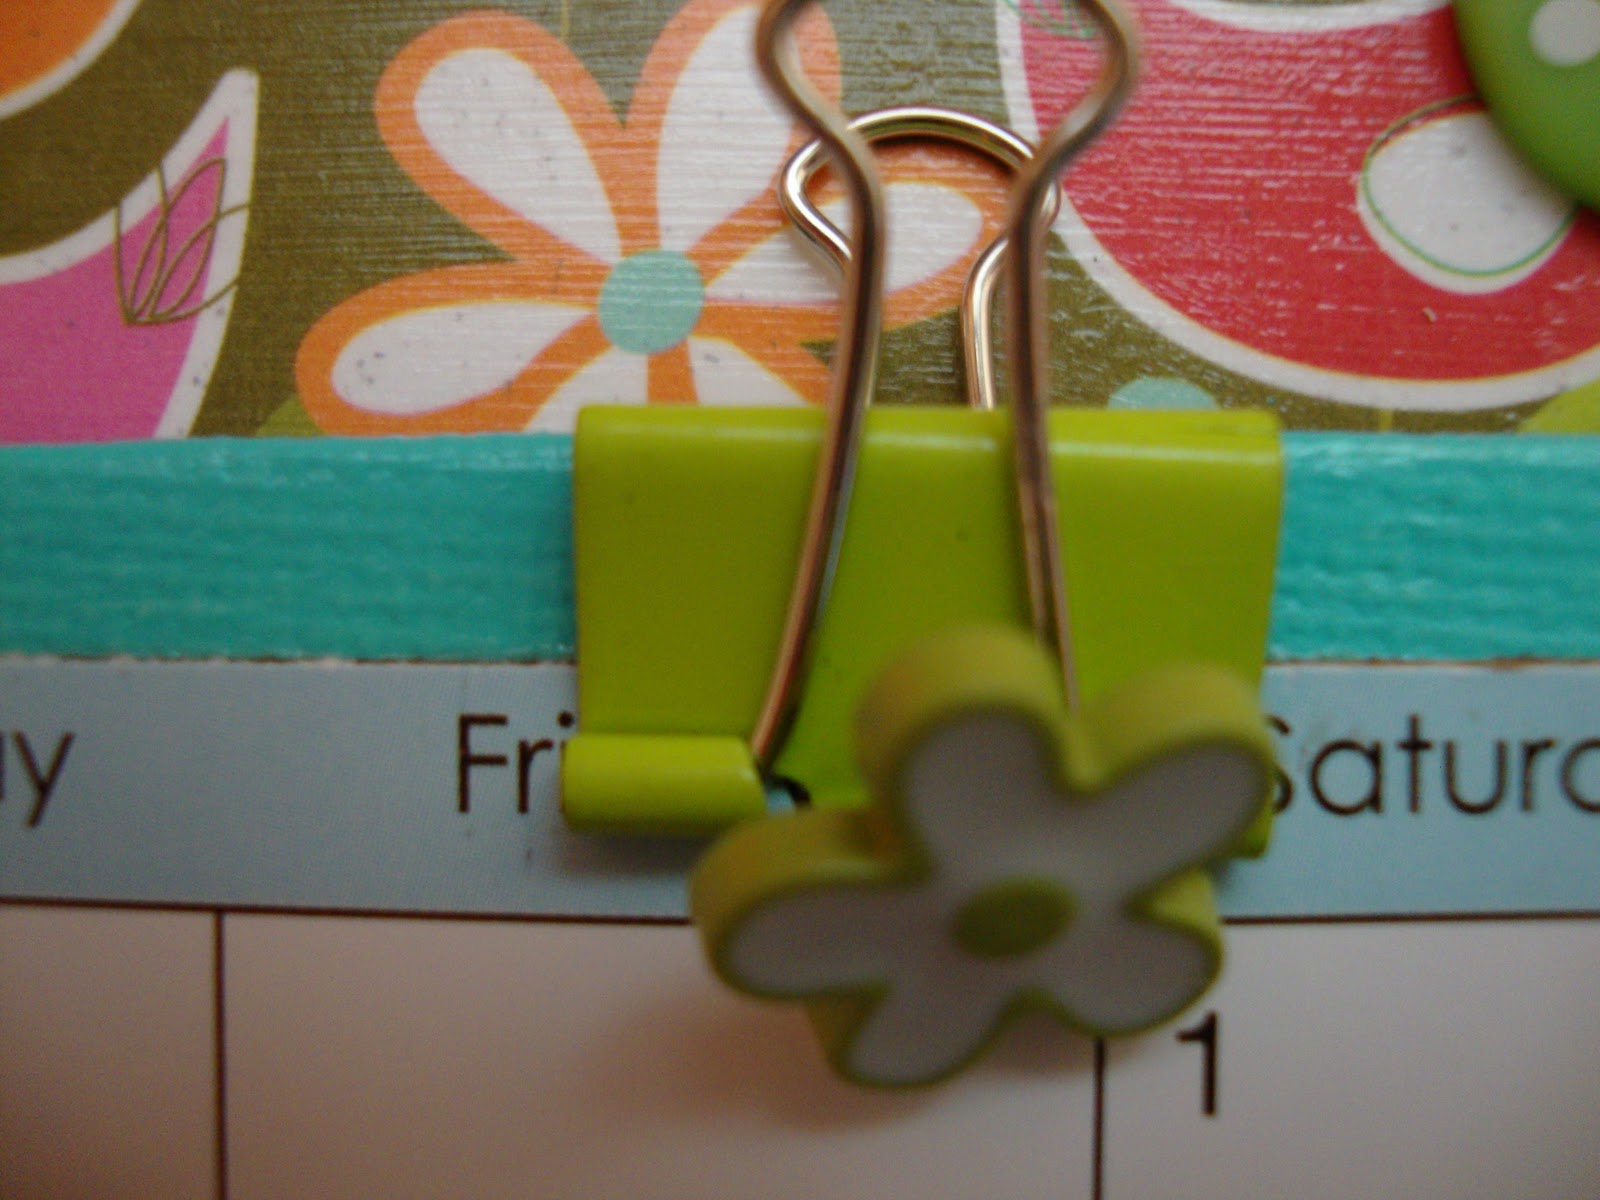
Since I just altered a wood photo frame (see February 2 post), I decided to create coordinating items, adding a small notebook, pillar candle, clothespin clips, a large spiral notebook, a note holder, and of course, a glass jar filled with chocolate.

Here is the beginning of my embellished mini notebook. I found these small spiral notepads (with pens) on our recent visit to Cal Poly, San Luis Obispo -- in the college bookstore for less than $2 each. Here are the before and after notepads.
And here is it is shown with the matching pen and altered clothespin clip. Embellishments include ribbons, chipboard circle stamped with "Friendship is a work of heart," a wooden bead and metal heart charm, and of course, the coordinated scrapbook paper.

And a surprise envelope inside for love notes or perhaps a sweet gift card?
Pin It
And a few stamped images throughout the pages.
...the large spiral notebook
...matching tile coasters
...an embellished pillar candle

and this altered glass hinged jar full of kisses--chocolate kisses!


And a photo of the complete ensemble:

Thursday, January 19, 2012

Be My Valentine


You look so familiar.  Do we know each other?  
Oh yes, I recognize you now. 
We frequently run into each other in the $1 aisle at Tar-che[z]!

Well in that case, you probably bought a few of these tin mailboxes. 


Did you get one in red, white or pink? Oh, one of each color! Me, too...
Most probably you will use this cute little box to "mail" Valentine goodies to your special someone[s].  That's exactly what I'm going to do. 

But first, I must alter the mailbox...

Materials: 
  • one tin mailbox (your choice of color)
  • Decorative scrapbook papers
  • Three coordinating Ribbons
  • Metal Charms (lockets, keys, hearts, etc.)
  • Flowers
  • Buttons
  • Mini tag
  • Mod Podge
  • Dymo label maker          
Measure and cut one piece of decorative paper to cover the main piece of the box. I cut it 4" wide x 12" long. The 12" just barely covers the entire body of the box. Adhere paper to mailbox using Mod Podge, starting at the bottom center of the box.

Carefully move the flag out of the way as you adhere the paper.  If the area around the flag anchor tears, you can cover it with a flower later, and no one will be the wiser. Let paper dry with flag in up position. 


Cut additional piece of paper 1" wide x 3" long. 
Adhere to one of the open sides. 
You can, of course, cut two pieces of paper, and embellish both sides.
Let dry.

Using Dymo label maker, type "Be My Valentine"
or other phrase of your choosing, and stick label below paper. 
Apply another coat of Mod Podge over the entire mailbox.

Cut 5" lengths from three different ribbons. 
Tie together all three ribbons into a knot,
catching charm locket in knot as well. 

Tape ribbon ends of one ribbon to inside of mailbox.
Trim additional ribbon ends.

 
Embellish flag with flowers, buttons, key charm, and mini tag. 


Add contents.  For the chocoholic, use kisses.


Or fill mail box with stationery, tissue pack, key chain and a candle.
You can also add a gift card and coupons.

Done.
Don't forget to place the flag in the up position!

Partying with these lovely bloggers:
xPhotobucket

Friday, January 6, 2012

Welcome 2012: Enter at Your Own Risk

Happy New Year!  Hope you had a wonderful and creative holiday season. 

Have you packed up all the holiday decorations yet?  We did.  It's always so nice to bring them out from the garage every year.  Then it's a chore great putting them away. 

Our home always looks so clean afterwards with just one exception:  my craft cave.  [I call it a cave because it is slightly larger than our master bathroom.]  It is currently a dangerous "Enter at Your Own Risk" space with craft supplies everywhere except where they should be: spread out on the floor, piled high upon the chair, and strewn across my desk.  Everything needs to be organized.  Ugh!  All I want to do is create new altered art projects.  However, I cannot even walk into the room without tripping on a cutting board and hundreds of ribbon spools.


So in the spirit of recycling, and in avoidance of the inevitable purging and organizing that awaits, I offer you my first post from last year as the first post of this year!   However, I've left out the rhetoric.  I'm not going to even pretend that I achieved all my goals.  That's what January is all about. It's the start of a new year. Everyone gets a clean slate to tackle the old and bring in the new resolutions, goals, aspirations and ideas.

So good luck to me, and good luck to you!  Ready, Set, Go! 
Calendar & Photo Canvas

Material List:
  • 9" x 12" and 6 x 8" canvas panels
  • coordinating scrapbook paper cut 8-1/2" x 11-1/2" and 5-1/2" x 7-1/2"
  • acrylic paint & foam brushes
  • Acrylic adhesive sealer
  • Binder clips
  • Buttons
  • Spiral paper clip
  • Hemp cord
  • calendar, cut to fit smaller canvas (I found these for 50 cents at Michael's)
  • metal label holder & brads
  • 4" x 6" acrylic flat photo frame
  • photo (which is interchangeable)
  • double-sided foam tape
  • assorted ribbon, ric-rac
  • silk flower (cut from stem and backing)
  • number stickers
  • hot glue gun


If you like the bright color combination used for this calendar canvas, click here to see the matching mail & note holder I made last year.  Also, I have a written tutorial available.  If you would like a copy, just leave me a comment with your email address :) 

And here's another calendar canvas created with a different color scheme:


Editor's Note:  I plan to clean up the craft cave this weekend, and create something new, and post it next month sometime week.  Also, for those of you keeping count, I admit to only posting four Chanukah projects in my Eight Projects of Chanukah series.  [sigh]
Doreen

Attending these wonderful parties:  Oopsey Daisy, The Answer is Chocolate, 504 Main,

Friday, December 16, 2011

Chanukah Project #4: Not Your Blue & White Tray

Growing up in San Francisco, our winters didn't consist of "dashing through the snow" or making snow angels -- we tried, but there's not a lot one can make out of dense fog.  Unless, of course, you can blow smoke rings out of the chilly air.

One of our favorite things to do, however, was count the Christmas trees we passed while riding here and there.  The holiday trees were so colorful, especially the ones that sat on a turntable, rotating beautiful colors around the window panes.  

We celebrated the eight nights of Chanukah.  Instead of colorful lights, we decorated our home with just two colors: blue & white.  Blue & white hanging dreidels, blue & white tablecloths, blue and white lights around the living room bookcase...you name it, our decor was simple.  

Even gift wrap could only be found in shades of blue and white. Or maybe, silver, if you looked hard enough.

Chanukah decor has changed over the last few decades. Now Chanukah comes in every color imaginable. Gift wrap, menorahs, decorations, tableware, and spinning dreidels come in bright pinks, greens, yellows and more.
So I decided to alter a mundane wooden serving tray in the new "Chanukah colors."   I found bright fuchsia gift wrap in my Chanukah box.  It was perfect. 

I painted the tray with two coats of a dark pink/fuchsia color.  I cut a piece of gift wrap to fit snugly inside the tray and adhered it with "the Podge."  When dry to the touch, I covered it with another coat of MP.  This got me thinking...so I made a tile coaster to match.  (When I have time, I will make another one to match.)
 My tray is ready for company. 

This tray would also make a great surface for playing spin the dreidel.  Which leads me to a question.  When we were kids, we played for a pot of hazelnuts.  When my children were younger, they played for pennies or chocolate gelt.  What do you play for in your home?

Saturday, December 10, 2011

Charger turned Menorah Platter

I know I promised you Eight Projects for Chanukah, but can I help it if I took a long-deserved break and went to Las Vegas with my BFF?!!  It was so very needed. 


We had a great time just hanging out together with all the eye candy there is to see.  At one point, while on the phone with my daughter (a Las Vegas expert after three visits), we saw flames and smoke coming out of a....well we didn't know what it was until my daughter plainly said to me, "Mom, it's a volcano [duh]!"  Well, of course it was -- an hourly attraction at the Mirage.

Anyway, that's my excuse for only being on Project #3.  However, with only 11 days until Chanukah (eeek!!), I'll just work a little faster...

This project is a Menorah Platter made from a plain charger. 
It's great to place your menorah on,
and the platter will catch all that candle wax
while saving your nice maple furniture. 

Chanukah projects and decor
You'll see this one matches Project #2, the Menorah Candle holder. 

Start with a silver charger. This one has a beaded border.
 (bought a set of six at Bed, Bath & Beyond for less than $10)


You only need a few materials: decorative paper,
iridescent alphabet stickers, flourish stickers and silver or blue rhinestones. 


Cut a circle 8-1/4" in diameter. 
Using Mod Podge, adhere the paper to the center of the charger.  Let dry.


This paper is very light blue
with the words to the song "I have a little dreidel" written on it.


Next, decide what words or phrase you want on your platter.
In the earlier photo, I used "Happy Chanukah".
This one reads,
"Harmony, Love, FAMILY."

Add the other stickers and rhinestones. 
Then apply Mod Podge over the entire charger.
Don't worry -- it will dry clear!


Here is the completed Menorah Platter, using my first example.

You'll have to trust me on the Harmony--Love--Family platter. 
It dried beautifully. 
Just didn't get a photo of it before my camera battery went kaput. 
Linking to these fabulous parties:


Related Posts Plugin for WordPress, Blogger...