PLEASE VISIT MY NEW BLOG

Monday, October 11, 2010

You Got Mail

I may be dating myself by recalling the days when we would anxiously await the mailman's arrival, run downstairs to the garage, and grab the mail from the box that led to the outside slot. 

In those days,  before modern communication including Facebook, Twitter, texting and e-mails, we enjoyed old-fashioned snail mail.  I had a pen pal named Anne who lived on the other side of the country in Akron, Ohio.  Although we never met, we enjoyed several years of writing back and forth about whatever nine-year old girls wrote about in those days.  I recall letters that began, "Dear Doreen, Thanks for your last letter.  School is good.  My sister and I went to the park after school..."  You get the idea! 

I hadn't thought about Anne in decades until I came across this vintage metal mailbox at the flea market.  For less than $10, I saved it from obscurity.  Here is what it looked like:
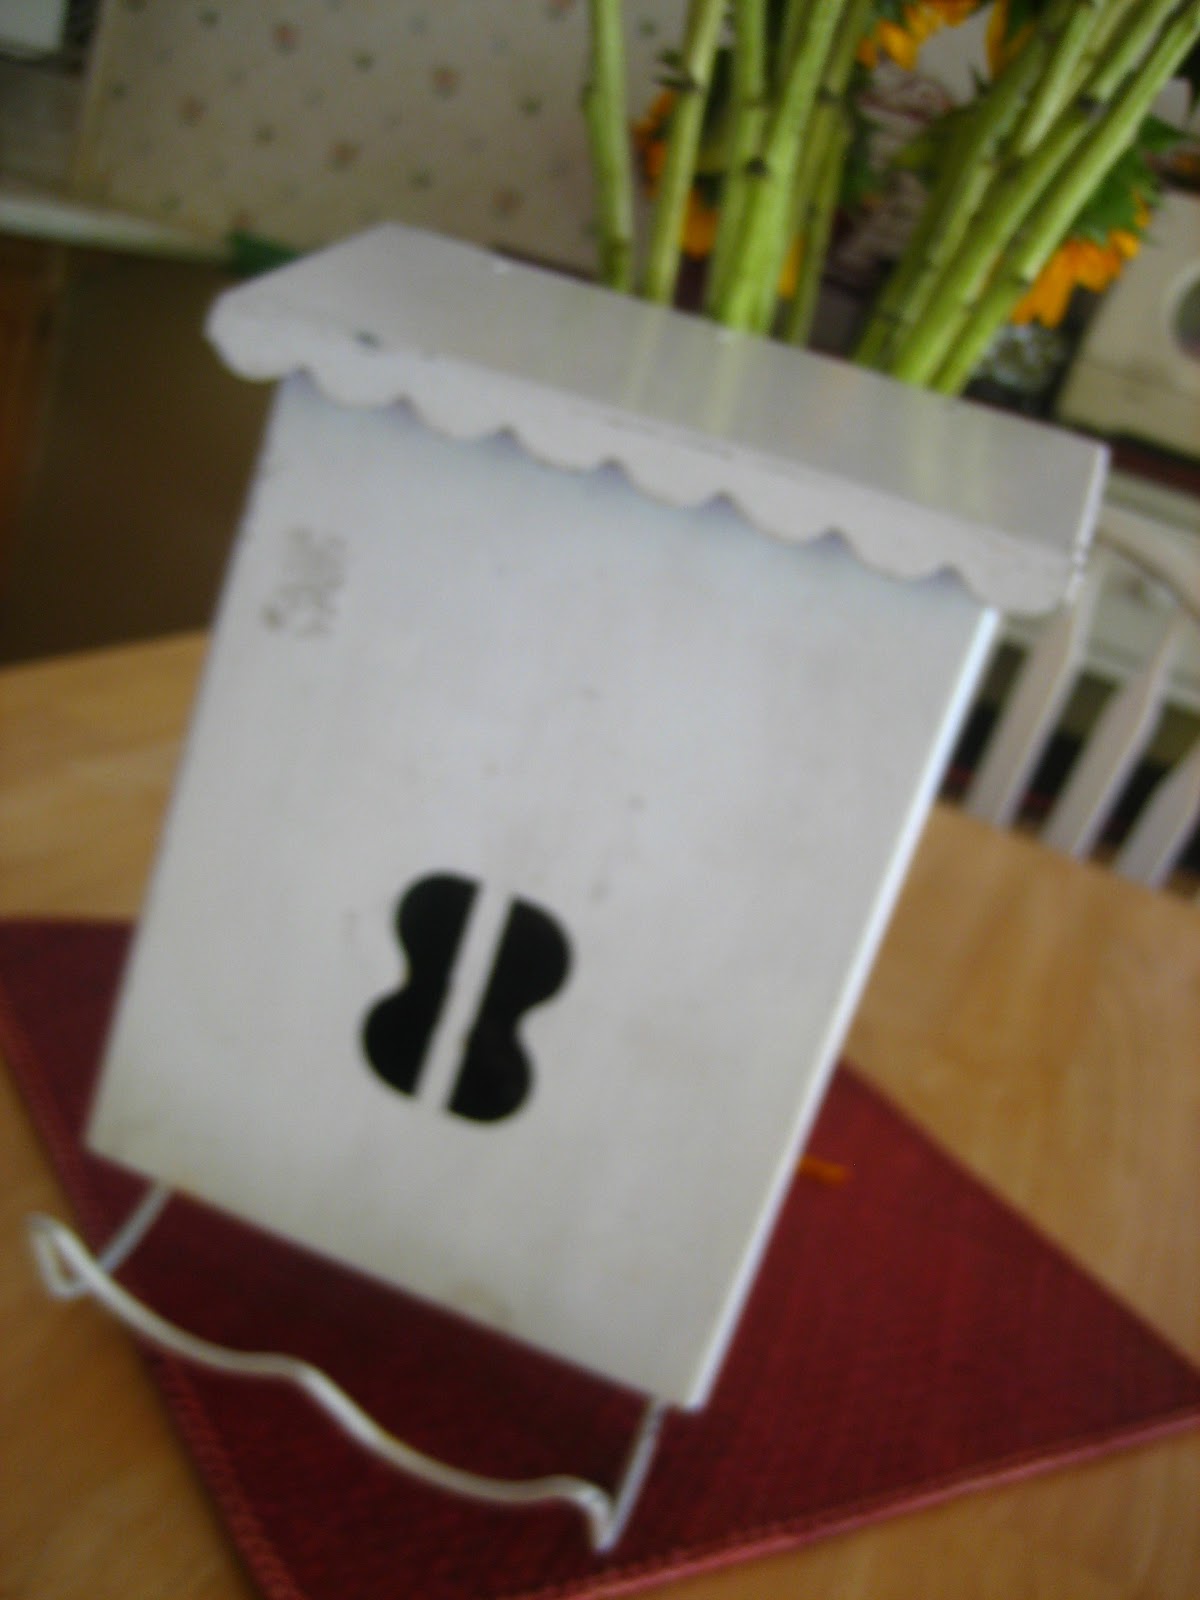
Note the wonderful scalloped edges on the lid and the curvy rack at the bottom
(used to hold magazines and newspapers).
Time to transform its mundane exterior with a little paint and a whole lot of embellishments. 
First I decided on my color palette.
After a light sanding, I painted the exterior with light avocado (minus the tortilla chips).
This is my favorite part of the transformation: 
going through my stash and finding embellishments that will mix and match together.
Then I edged the papers with charcoal chalk ink
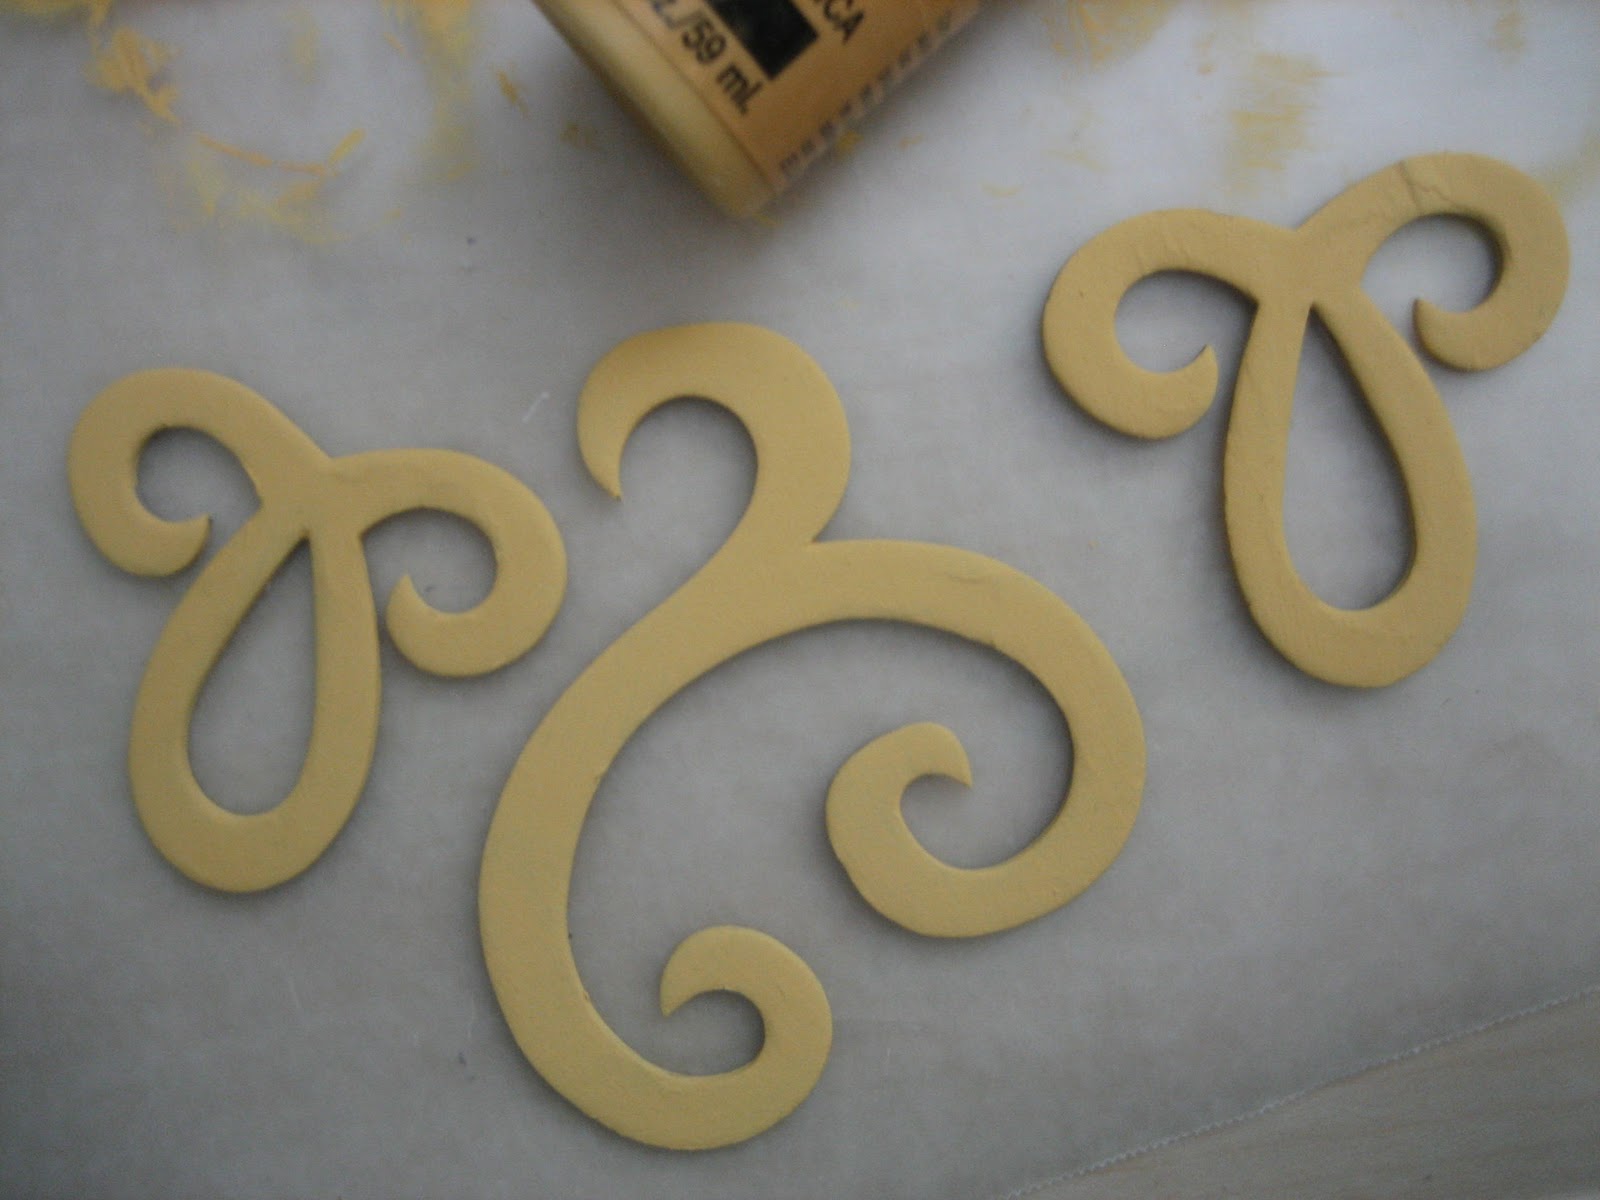
I painted chipboard scrolls that I later stamped with flourishes.
Adhered the paper with Plaid's Royal Coat antique decoupage finish.
Stamped vintage images on a pretty Paper Source label,
and adhered the label on the front of the mailbox.
Added quirky snaps on the scalloped lid, a chipboard bird holding a key (and the lock is hanging from the scroll), a few buttons, and a small flower and bling to the bird's tail.

Being the ribbon queen that I am,
I tied complementary ribbons in shades of green, cream and yellow,
using ribbons with varying textures and widths, to the magazine rack.
Then a chipboard label holder and two brads on top of the mailbox
with a label that reads "You Got Mail" finishes the project.


I'm happy with the result!  Now, what to use it for? 
My husband has a brilliant idea: 
we're going to hang it on our porch next to the front door
and use it for....mail!

P.S.  I'm going to try to re-connect with my pen pal, Anne.  I wonder if she's on Facebook! 

Linking to:
Funky Junk Spring Projects
Knick of Time
The Gunny Sack


The Project Queen Turning-the-daunting-into-the-do-able


Sunday, September 19, 2010

What's Your Inspiration?

I know the calendar says it's almost fall, but my internal temperature still hints of summer heat. What better way to cool off than with some creative therapy!

While browsing through Cost Plus World Market a few weeks ago, trying desperately to use my $10-off coupon (before it expired at the end of that day), a bright yellow metal sign caught my attention. It reads: "Life is a process and your participation is required. Life – just show up."

LIfe is a process and your participation is required.

Needless to say, it found its way home with me. As I hung the sign up on the wall, I decided to use it as inspiration for my next art project.

Inspiration is all around us. One just needs to stand still long enough and look around. What inspires you? Is it an antique painting on the living room wall? Your favorite kitchen appliance? Your pet? Whatever it is, place it (or a photo of it) on your craft table, and just look at it. Absorb the textures, colors, rhythm and words. Use this item as your inspiration as you embellish a large wood initial of your choice.

Using the colors of the metal sign, I painted the "D" (which is 9" tall x 6" wide, made from white MDF board) with yellow acrylic paint. I traced the outline of the letter onto an orangy small-flowered pattern paper, then cut it slightly inside the lines. 


I inked the edges, and applied the paper to the letter with Mod Podge.  When completely dry, I stamped flourishes on the "D" with black Staz-on ink.


Then I tore and Mod-podged contrasting paper, and stamped a sentiment with brown ink.  Although it is difficult to tell from these photos, using just a little white paint and quick, short strokes, I added a distressed look to the paper.


Life got busy, so I had to put the completion of this project on hold.  A week later, I found a $1 stamp at Michael's with the word "Life", and remembering the inspiration sign, I thought this would complement my initial wall art nicely.  After stamping the "Life" image on the wood initial, I put one final coat of Mod Podge on it.


I finished the project by gluing on several different textures and colors of ribbon (including ric-rac and toile) and a button.


Life.  It's a Process.  Just show up.


Participating in this Blog Hop:
Photobucket

Tuesday, September 14, 2010

Tennis anyone? Maybe after dessert.

First of all, I want to welcome those of you who have just discovered my blog.  It is filled with fun altered artwork as I "transform the mundane -- one embellishment at a time".  Feel free to scroll down the posts or click on any tags that sound interesting to you.  If you see something you really like, please let me know with a comment! 

And, I want to let everyone know that today I am being featured on a fantastic blog called Paisley Passions.  I am absolutely thrilled, and want to thank Lori, from the bottom of my button jar, for this wonderful opportunity to share my altered artwork with her blogging friends.

And now for today's altered artwork feature: my recipe-in-a-tennis ball can.  Every December, my tennis group gets together for a holiday luncheon, and we swap gifts.  I decided to get each of my tennis buddies a new can of tennis balls, minus the balls! 
gifts for tennis
A new twist to tennis:
Recipe-in-a-tennis ball can!

I removed the cellophane wrap, made my own wrap out of two coordinating papers plus a white strip with "Fudgy Brownies" repeatedly printed across the entire length.  I added a wooden spoon, ribbon, a flower, button, and a tag on which I stamped the word "love".  (You gotta love a sport that uses the word "LOVE" instead of "ZERO".)  Then I glued a silver tennis racquet charm onto the tag.  (This charm can be removed and then easily attached to a necklace chain.)


brownies in a Jar

I found a delicious fudgy brownies-in-a-jar recipe, and adapted the recipe ingredients to fit inside the tennis ball can.  I typed up the recipe, printed it out on a 4" x 6" card, laminated it, and slid the card between the wooden spoon and the can.  (You may need a glue dot here and there to hold the card and spoon in place.)  Then I placed a crisp, clear cellophane bag into the can, and carefully layered the dry ingredients into the bag, tying the bag tightly at the top. 

Not only were these handmade gifts a big hit, the fudgy brownies were delicious.  I included the three brand new tennis balls inside the gift bag with the altered can.  It was the perfect gift.  Now if I can only perfect my serve!  
 
Tie on a little "love" tag with a silver tennis racquet charm
Thanks for stopping by! 
See you on the tennis courts.
Doreen

Click here to link to Paisley Passions.


Thursday, September 9, 2010

Linking to CSI Teacher Gift Challenge

Although school started a few weeks ago, we are now on a 1-1/2 week break due to teacher furloughs, thanks to our wonderful  (not) state budget deficit.  But don't get me going on this.....instead, we will embrace this late summer mini-vacation with bike rides at the beach, crafting, summer salads, crafting, sleeping in, crafting, and did I say crafting?

This post is a snapshot of a previous post from May 2010 -- when I host workshops for Moms and kids.  They come over and create their own personal teacher gifts.  Of course, these can be made as welcome-back-to-school gifts too!  So, here is a photo of my favorite teacher gift ensemble.  I know so many teachers who start their day with a cup of joe, so this ensemble is coffee-themed all the way! 
Coffee Theme Ensemble:
Coasters, Post-it note frame, large note/photo holder & Clipboard
Visit thecsiproject.com

Wednesday, September 1, 2010

From Mundane Hardware Organizer to Beautiful Button Armoire

Ahhh - I love when I find a few "JFM" (Just for Me) hours.  Today was just that kinda day. 

I left the house early, dropped off The Dog at the groomer's, and knowing it was going to be over 90 degrees today, grabbed a nice, cold iced Venti Latte, then headed to two of my favorite stores:  HomeGoods and Big Lots!  I bought a couple of cutesy kitchen items at HG, but felt like I needed something more....or less.  So I drove a few blocks farther to the neighborhood Big Lots. 

Up and down the aisle I strolled, sipping my latte as I sought out treasures.  Sadly, due to the Halloween decor that is already stocking the shelves, there wasn't too much that caught my eye...UNTIL...I ventured into the automobile & hardware aisle, and there it was:  my $10 treasure:  The Trades Pro 1000-piece Hardware Organizer #836376.   The box read "100% Satisfaction Guaranteed", so how could I go wrong?  Here is what it looked like when I got it home:

I emptied the container of its cumbersome 1000 pieces of nails, screws, thumbtacks, bolts, and whatever else they threw in there.

And here is the mundane toolbox ready to be altered.  Note there are 25 clear drawers!


Then, the fun began.  After a quick bite (really, who has time to eat when there is altered artwork to be done?), I got out everything I needed:  one of my favorite designer 12" x 12" paper (all you need is one piece), foam brush, ruler and a pencil, brayer, label maker, and any embellishments you want to use including (but not limited to) ribbon, label holder, brads, and of course, buttons!


I measured and cut the paper to fit both sides and top of box.  Well, I actually decided to cut the side pieces a bit longer, and overlapped them onto the top to create a nice edge. 


Then I added the top piece, applied more Mod Podge,
and used my brayer to press out any air bubbles that may have snuck in.


I added ribbon along the edges, a chipboard label, brads, a flower with attached button,
and I used my label maker to write "For the love of buttons".
And here is the finished button armoire. 
I am going to "label" each drawer with the colored button, and fill the drawers accordingly. 
I love organization!

Linking up to:
Organize and Decorate Everything


Monday, August 16, 2010

Inspired by the Ocean Blue


For all you artisans in Blogville, especially those of you who live in SoCal, you may be familiar with the Laguna Beach Sawdust Festival.  It's the community's annual art fair which runs through the entire summer.  The sawdust-laden grounds are filled with beautiful original artwork including paintings, pottery and jewelry, created by local Laguna Beach artisans.  It's wonderful to sip a glass of wine while strolling up and down the many aisles, looking for that one piece of art which will capture your eye, and maybe even your wallet!  Of course, as all of you know, we crafters stroll for inspiration. 

While recently vacationing in Laguna Beach with family and friends, I took an afternoon to meet some of the artists and see the new collections offered in each booth.  Afterwards, I shook out the collected sawdust that found their way in between my toes and sandals; and instead of joining everyone on the sand, made my way up to the top terrace of our vintage hotel for some serious art work of my own. 


Using the many blue colors of the Pacific Ocean as my backdrop, I decided to create a canvas collage that will showcase one of our vacation photos.  I covered my blank canvas with acrylic paint, various scrapbook paper, and paint chip samples (I love these so much!).    If you look really closely, you will see that one of the colors on the paint chip is named "Laguna Blue".  How completely perfect is that?

I added some chipboard letters (which my daughter and I had scooped up at Big Lots for a dollar the day before), which I painted to match the canvas with a sandy terracotta color (that I actually made by blending two colors together).  When the letters dried, I stamped them with a flourishy acrylic stamp to give the letters a swirly design.  I Mod Podged some pretty paper and my paint chip samples onto the canvas, and then lightly brushed more paint on the paper and paint samples to give the collage a distressed, beachy feel.  (Yes, I could've used some actual beach sand as well, but that would've meant getting sand in my toes!)

I chose a summery patterned paper and a contrasting solid to use as my photo mat to make the photo "pop" on the board.  (Side bar:  I used a magazine to cover my workspace.  Note the hunky guy on the magazine cover who supervised me!)

Then I added a few embellishments including:
 a cute tag tied onto the "A" with a gingham ribbon,
a two-tone silky flower attached with a tiny brad,

a found sand dollar (OK, you caught me, I did take a few walks on the beach),

couple small shells,and a multi-layered flower "tied" with a button and then topped with this cute sea star!

Once at home, I added this photo of our two beach beauties, and...

the canvas is complete and ready to adorn the wall--a lovely momento of our great beach vacation.

I would love to see what momentos you have from your summer vacation!  Please leave me a comment and any links to show me what kind of creative memories you have made.

Friday, July 30, 2010

When Life Gives you Lemons, Drink Up!

Remember when Sandy & Danny sang the song "Those Summer Nights" in the show, "Grease"?  They conjured up images of hot, sweaty nights and plenty of icy drinks.  This came to mind when I recently bought a stamp set with the saying, "When life gives you lemons, make lemonade, then drink up".  I found it in the dollar bin in JoAnn's.  Well, that one-dollar investment sparked my creative "juices" -- and now my new favorite color is lemon yellow!

In keeping with a lemony summer theme, I created some fun altered art in the forms of a wooden photo frame stand, a magnetic note holder and a fun greeting card. Here is a photo of the completed altered photo frame:

And a close-up of the embellishments.  Note the cute, little ladybug!

And here is a coordinating note holder.  I started with a plain, wooden 1-1/4" x 4-1/2" clothespin,
added paint, paper, Mod Podge, ribbon, a mini sunflower, and voila:
a note or photo holder matching the wooden frame.
And an extra bonus: 
I made a gift card holder using leftover paper and a library card pocket,
then clipped this onto the wooden holder!


And here's the card I created which I turned into a birthday card for a dear friend. 
So, when life throws you lemons, well....you know what to do!

Sharing here:
Related Posts Plugin for WordPress, Blogger...