PLEASE VISIT MY NEW BLOG

Friday, May 20, 2011

Pomp & Circumstance

Pomp & circumstance...and a cupful of [happy] tears!  Yes, it's graduation season.  Whether your child is graduating from kindergarten or college, it's an emotional time for us Moms.  Where did the years go?  Wasn't she just starting to crawl?  walk?  talk?  ride a bike?  sneak out of the house wearing make-up?  borrow the car keys?  go off to college?   Quick -- hand me the Valium!

Thanks.  I feel much better now.  Actually, the best Rx for times like this is
CREATIVE THERAPY! 
Here is the first in a series of graduation projects I would like to share, beginning with a photo frame.  
Here is the before-and-after picture.
I used a 10-1/2" x 4-1/2" MDF frame from Michael's. 
It holds a 4" x 6 photo. 


Assemble as many graduation-themed items from your stash,
or treat yourself to a quick trip to your local craft store. 
Choose paint to match your school colors. 
 
Remove the glass insert and set aside.  Paint the entire frame and let dry. 
Stamp graduation sentiment onto glossy paper.  Adhere to frame.
 [Hint:  I use Mod Podge to adhere most of the items to the frame.]
[Disregard streaky look in photo above.]


I am a sucker for my Label Buddy, so I typed out "Class of 2011." 
Stickers and rub-ons will work too.
Adhere to bottom of frame.
Add dimensional quote.  I chose the definition of  "wisdom."
Add decorative embellishments.
[I used stickers, silver sparkles and grad cap and diploma buttons.]

Lastly, I inserted a 4" x 6" graduation-themed scrapbook paper
[which will be replaced with a real graduation photo]. 
Replace glass insert.
Voila! 
Now pass the tissue box and save me a seat at the ceremony.

Linky parties:
Diana-Rambles


Wednesday, May 4, 2011

Three Cups of Coffee

Coffee.  Caffeine.  Java.
It's not morning in my house until my first cup o' Joe.  After that, you can try talking to me; however, you'll be better off waiting until I've had my second round of caffeine.  OK, now I see you.  Good morning!   Oh, you want to have an interactive discussion?  In that case, pass the coffee pot so I can fill my mug one more time. 

If you are also a caffeine addict, or know someone who is, then this altered canvas project is perfect.  I call it "Three Cups of Coffee."

This project starts with three [printed] canvasses I found in the $1 bins at Michael's (before they raised their prices to $1.50--what nerve!).  Each canvas measures approximately 6" x 6" square. 

I painted the canvas sides and front (1" in on all edges) in French Roast and Mocha tones.  I wanted to go with a coffee theme, so it was easy to choose my color palette.

Once the paint was dry, I Mod Podged my paper (cut just slightly smaller than the canvas) onto the front of the canvas.
I used coordinating coffee-theme paper on the other two canvasses as well.  After the Mod Podge dries, embellish away!  Here is what I did:

Canvas #1 
"Caution HOT Beverage" punched from a coffee cup sleeve, using my tab punch, fastened with two brads; paint chip sample collaged on top of a Peet's gift card; coffee cup images stamped on printed paper, cut out and collaged on top of paint sample; a wooden numeral "3" that I painted, finishing it off with a small chipboard tag painted, stamped and edged with liquid chalk, and tied on with hemp. 

Canvas #2
Embellishments include coffee bean linen ribbon, stacked buttons, a Starbucks gift card, flower transparency and a beautiful vintage floral button. (I have been saving this piece for years!!)   Check out the detail on this exquisite treasure.

Canvas #3
Pin It
Embellished with strips of coordinating paper (used on first two canvasses), "The Coffee Bean & Tea Leaf" gift card, a metal corner, Prima flowers topped with a clear rhinestone, and a clock transparency that I collaged right on top of the word "coffee break." 

And my other treasure is a vintage silver spoon, which I picked up in an antique store many months ago. 

I used Mod Podge and my hot glue gun to adhere everything, and made sure to give each finished canvas a final sealing of Mod Podge. 

And that's it!  What's great about this three-piece set is you can arrange them on a wall in many ways:  horizontal, vertical or on a diagonal. 
You could even stand them up on small easels.

Now that I've finished this blog post, I am craving a delicious latte.
Make mine with low fat milk, an extra shot of espresso and thick foam please!  Now where did I put my gift cards?

Linky parties:
36th Avenue
making-world-cuter-monday
just-something-i-whipped-up
TCB Get-your-Craft-on

Saturday, April 9, 2011

Tin Can Alley


In order to stay grounded, it is important to reflect on where you come from.  In my case, creatively speaking anyway, one of the very first crafty things I did was altering used food cans with pretty paper.  As "scrapbook paper" wasn't around in the 60's, I used wrapping paper and wallpaper book samples.  

I carefully measured the can's perimeter and length, and then cut (with scissors, no paper cutters then either)the paper to the appropriate size.   To make it stick, stay stuck and protect it from tearing, I used Mod Podge.  I think I was MP's very first Facebook fan.  And because I've always been good at multi-tasking (a girl can dream, can't she?), this project probably also fulfilled one of my Girl Scout badges!  

So, here is today's take on one of my earliest altered artwork projects.  Sure wish I had a photo of the ones I made a mere few decades ago. 

Coordinating paper to mix & match


The cans covered with beautiful patterned paper


Bright acrylic paint to coordinate perfectly with the paper


Painted wooden clothespins


Altered painted clothespins with paper, ribbon and matching tags


Finished can embellished with flower, button, ribbon, and rhinestones.
And clipped clothespin with attached tag.  This one is for brushes.


And this one for my scraps of ribbon.


For my markers.


This tiny can was added to the mix to house my pink button collection.


My new colorful cans to help me stay organized.
Now to organize the rest of my life...       
Pin It
Made in a Day

mop it up mondays feature

Linking to these fun parties:

Wednesdays @ 7pm CST:
Made in a Day


It Pays To Be Cheap
 Nifty Thrifty Things

todayscreative blog
 Beyond the Picket Fence Under $100 Linky Party
Wayward Girls Crafts Weekend
thecreativecrate creative-lyweekendparty
Weekend-blog-hop
Today's Creative Blog
Metamorphosis Monday
New Nostalgia
Lindsey's Inspiring Creations
Paisley Passions Thrilling Thursday
Making the World Cuter Mondays

Wednesday, March 16, 2011

Tropical Birthday Bash

Beach sand, shells and votives light up the room
I've heard that a picture is worth a thousand words, but I didn't believe it until this post published without text!  All I did was answer the telephone, and the next thing on my screen read "You have published successfully."  Let me try it again...this time with a few explanations.
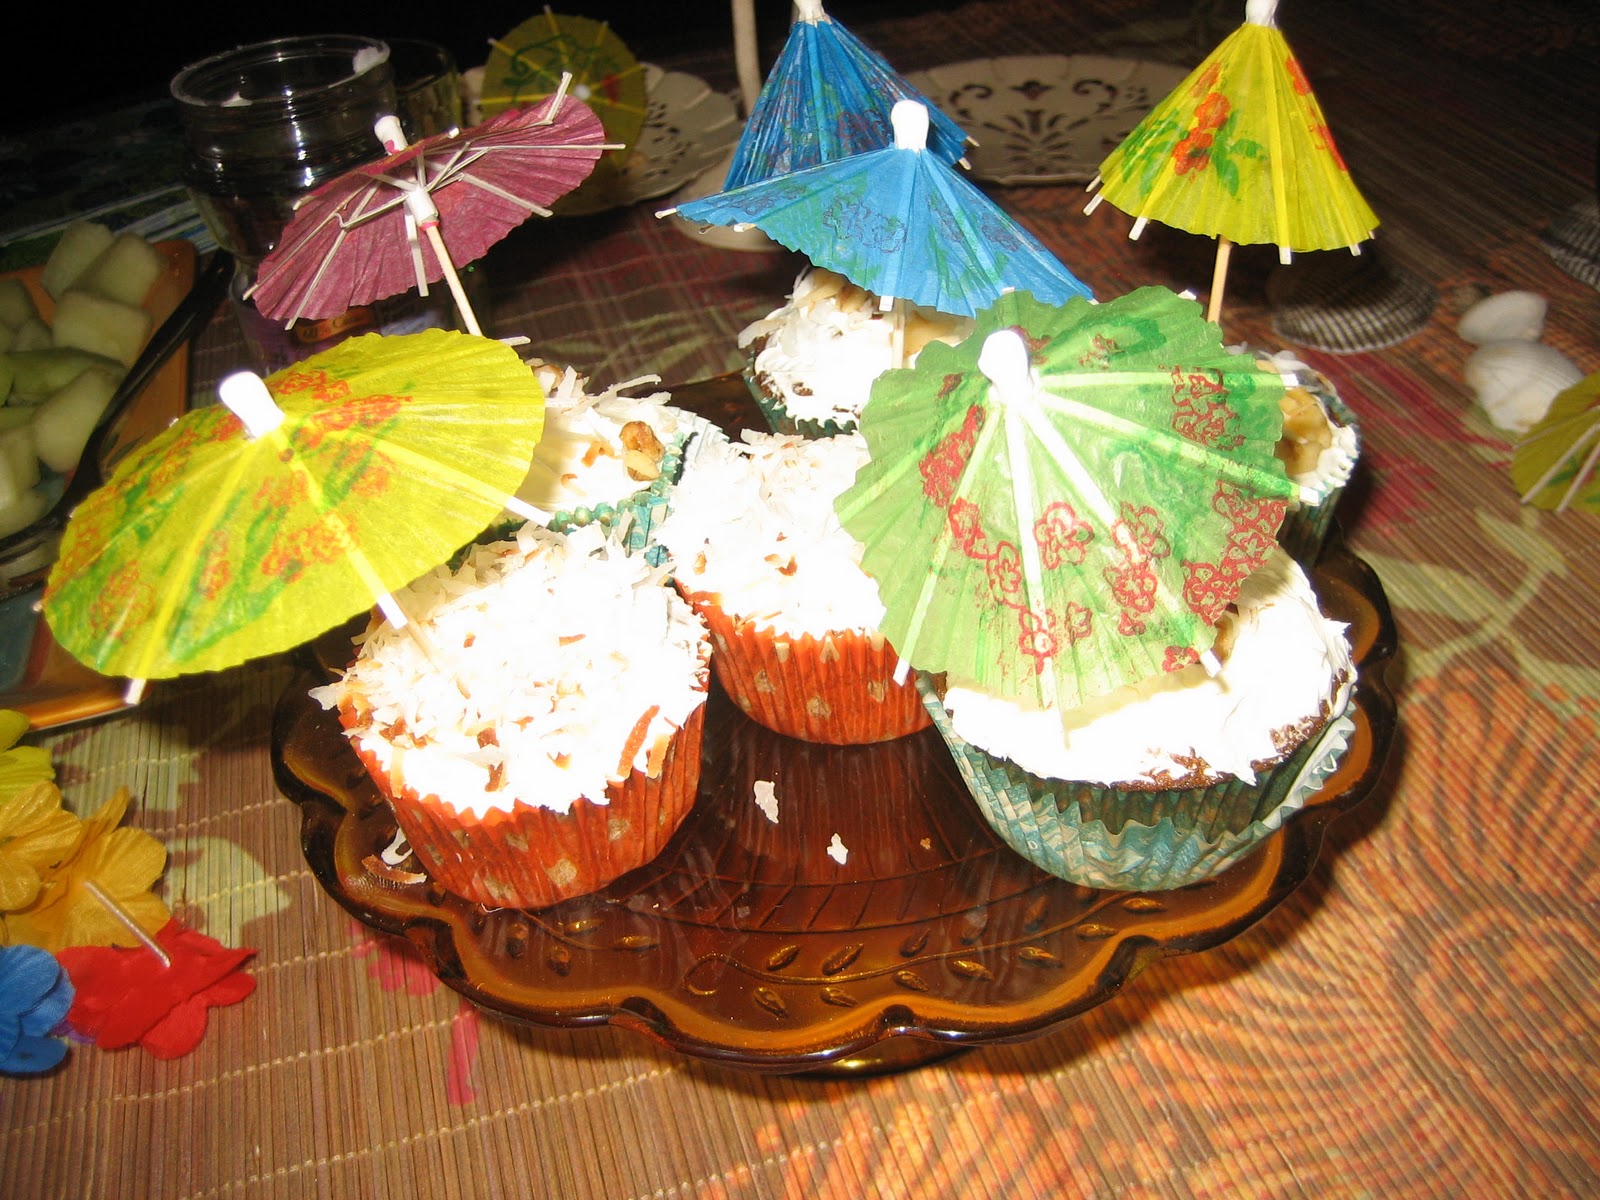

From the blog title, you may have gathered that we had a bit of tropical weather here recently -- in celebratory form.  My hub decided he didn't want to turn 55 alone, so we invited a few of his close pals by to cheer him up!  And they did a great job.  Look how happy he is:
He & Me in Hawaiian garb


Tropical Cupcakes
and a printed bamboo shade as the tablecloth
An embellished palm tree


Paint chips, fancy paper plus my Slice


Create a colorful banner
that reads "Happy Birthday Ron"

The cost for all this creativity:
priceless.


Staying with the tropical/beachy theme, we recently purchased this wood print artwork
for our upcoming 25th wedding anniversary,
to commemorate our engagement on the beach in Malibu, California.
Happy Anniversary, Sweetheart!


Linking to these fabulous parties:


Thrilling Thursday at Paisley Passions
Related Posts Plugin for WordPress, Blogger...