PLEASE VISIT MY NEW BLOG

Showing posts with label photos. Show all posts

Tuesday, June 4, 2013

Fabulous Father's Day Photo Canvas

Collage Art

Daddy.  Papa.  Abba.  Pop.  Mr. Cool.
No matter what you call him, your father is always going to be the first man in your life.  The one who taught you how to ride a bicycle.  The one who always tells you how pretty you are.  The one you can count on.   My Dad celebrated his 90th birthday earlier this year and we had a big family get-together.  It was a special day.  I am so proud to be his favorite daughter.  Since I have two brothers and no sisters, I can say that with certainty. 

Our two daughters must share the role of favorite daughter with my husband.   And because he is such a wonderful Dad, we've created a fun photo canvas for him for Father's Day.   

We gathered together a plethora whole lot of supplies including coordinating paper, paint, chipboard letters, brads, twine, ribbon, corrugated cardboard, rub-ons, and a whole lot more.  And of course, a few of our favorite photos of Mr. [Mc]Dreamy. 


Then we had a snack. Have you ever noticed how well crafts and chocolate chip cookies go together?

The first step is to paint the sides and edges of your canvasses.  We used 9" x 12" and 4" x 12" canvas panels. 
 

Then cut the paper 1/2" smaller than the canvas panels.  Adhere the paper to the canvas using Mod Podge.  Cover entire surfaces with another coat of MP.  Let dry. 

We wanted to create a banner to back the chipboard letters, and decided to cut it out of corrugated cardboard for a more rugged look.   I drew triangles on the back of the cardboard to use as a pattern.

Make banners out of corrugated cardboard
I really like the way this banner turned out.


We thought it would be fun to add a few adjectives for "d-a-d" and came up with these words:
Dependable. 
Adventurous. 
[Mc]Dreamy.
Yeah, that about describes Mr. Wonderful.
We tied kraft tags to the letters with jute. 
Mixed Media art

Then we layed out, moved around, and re-positioned the photos and embellishments until we were blue in the face happy with the layout.  Before we changed our minds, we adhered everything in place.  To add some interest, we layered the photos onto coordinating paper, and adhered them with foam dots to pop them up a bit.

We found the greatest rub-on that reads, "Make Life an Adventure."  Perfect!  We adhered a mini canvas (5"x 3") to the large canvas, and added a strip of corrugated cardboard, buttons, a wooden heart, ribbon and a king's crown charm!


To tie the canvas panels together, we used small eye hooks.  I marked off 3" from either end, and twisted the eye hooks into the bottom side of the small [top] canvas and the top of the large [bottom] canvas. 


Then we looped twine and ribbon through the eye hooks, tying them tightly bringing the eye hooks close together.

 And here's a photo of the finished canvas.

Do you think he'll like it?  We hope so. 
Besides, how many ties does a Dad really need?

You may also enjoy these projects:


 I've been featured!
 
Ivy and Elephants
Dukes and Duchesses

Wednesdays @ 7pm CST:


Thursday, August 18, 2011

Gothic Art, Momma Style

Gothic art, a Medieval art movement that developed in France out of Romanesque art in the mid-12th century, has taken on a revival of sorts, especially in clothing and accessories.  Sometimes misunderstood, goth is usually considered counterculture.  

Well, this is as counterculture as I get -- my version of Gothic artwork, Momma style! 


Using a new Gothic-style paper collection, I chose paper with a black background and bright pink and lime green chandeliers.  Although I wanted to go with lime green accents, I started this project while on vacation with a very limited art supply. [Boogie board trumps craft boxes.]  So I used what I had, and I chose pink, which at least matched the paper. 

This canvas measures 10" wide x 8" tall. I painted the edges pink, and when dry, decoupaged the paper to the canvas, leaving 1/8" border along the sides. Once this dried, I used very little paint and light brush strokes to make the paper look "edgy."   I tried my best to paint outside of the lines, literally and figuratively.

 
I then cut coordinating card stock measuring 4-1/2" x 6-1/2" and 4" x 6" and decoupaged it to the canvas at an angle. The photo frame will be placed on top of this.

Once home [the vacation flew by way too quickly], I gathered together a variety of coordinating embellishments, and chose those that would enhance the project.

I love ribbon!
 
Using strong double-sided adhesive, I adhered a 4" x 6" acrylic frame in place.


The I added one of my favorite vacation photos.  The great thing about using an acrylic frame is that you can change the photo whenever you want!  I stapled black & white ribbon to the side of the photo frame, a trio of flowers to the top left corner of the frame, and a single flower at the opposite end.  I used buttons and large brads for the flower centers.


I then added a mini frame, an acrylic key and lock, and two pink photo turns, framing "best buds" which was printed on a transparency. [Hint:  When using transparency, print on rough side of paper so the ink does not smear.]

See the "edgy" pink & black-dotted bead trim? I adhered it to the back bottom of the frame. I love how it dangles from the canvas. I also love the fact that I finally used this trim as I have had it in my stash for over ten years!


Pin It
 
This Gothic-inspired wall canvas is now ready to hang. 
Of course, it doesn't match any room in our house...at least not yet.

Wednesday, January 5, 2011

Top Ten Resolutions for 2011


Happy New Year! Let's ring in the new, and throw out the old. No, wait! Don't throw out the old. Instead, "upcycle" it.

As I near the age matching the year I was born (mid-50's), I find this creative phrase a metaphor for life. Instead of grumbling about all those things that we mid-50 year old women find astonishing (like hairs on the upper lip, a body in need of toning, and grumpy teenage children, just to name a few), it is time to upcycle ourselves: limit the sugar and white flour, exercise for life, share a smile more often, and stop being so hard on ourselves. The super-Mom syndrome of the past few decades is no longer acceptable. Instead, it is time to find a gentle balance on our continuing journey called life. That being said, here are my Top 10 resolutions for 2011:

 1. Donate un-used craft items to Girl Scouts.
 2. (Continue to) volunteer at senior centers.
 3. Organize (i.e., toss out) expired coupons, old receipts, and newspaper clippings that I saved to read (but didn't).
 4. Spend more time reading novels and non-fiction.
 5. Take a class to expand my computer knowledge (which will benefit my blog).
 6. Take vitamins regularly.
 7. Add a day of tennis to my bi-weekly tennis schedule.
 8. Hide the chocolate--from me (i.e., don't buy the stuff anymore).*
 9. Enjoy spending time (instead of arguing) with our younger daughter for the next eight months before she goes off to college .
10.Think outside the box (i.e., my comfort zone) and expand my crafting repertoire.

*This is going to be tough!

Let's start with Resolution #10: expanding my crafting repertoire; thus, I present my first altered art project for the new year:

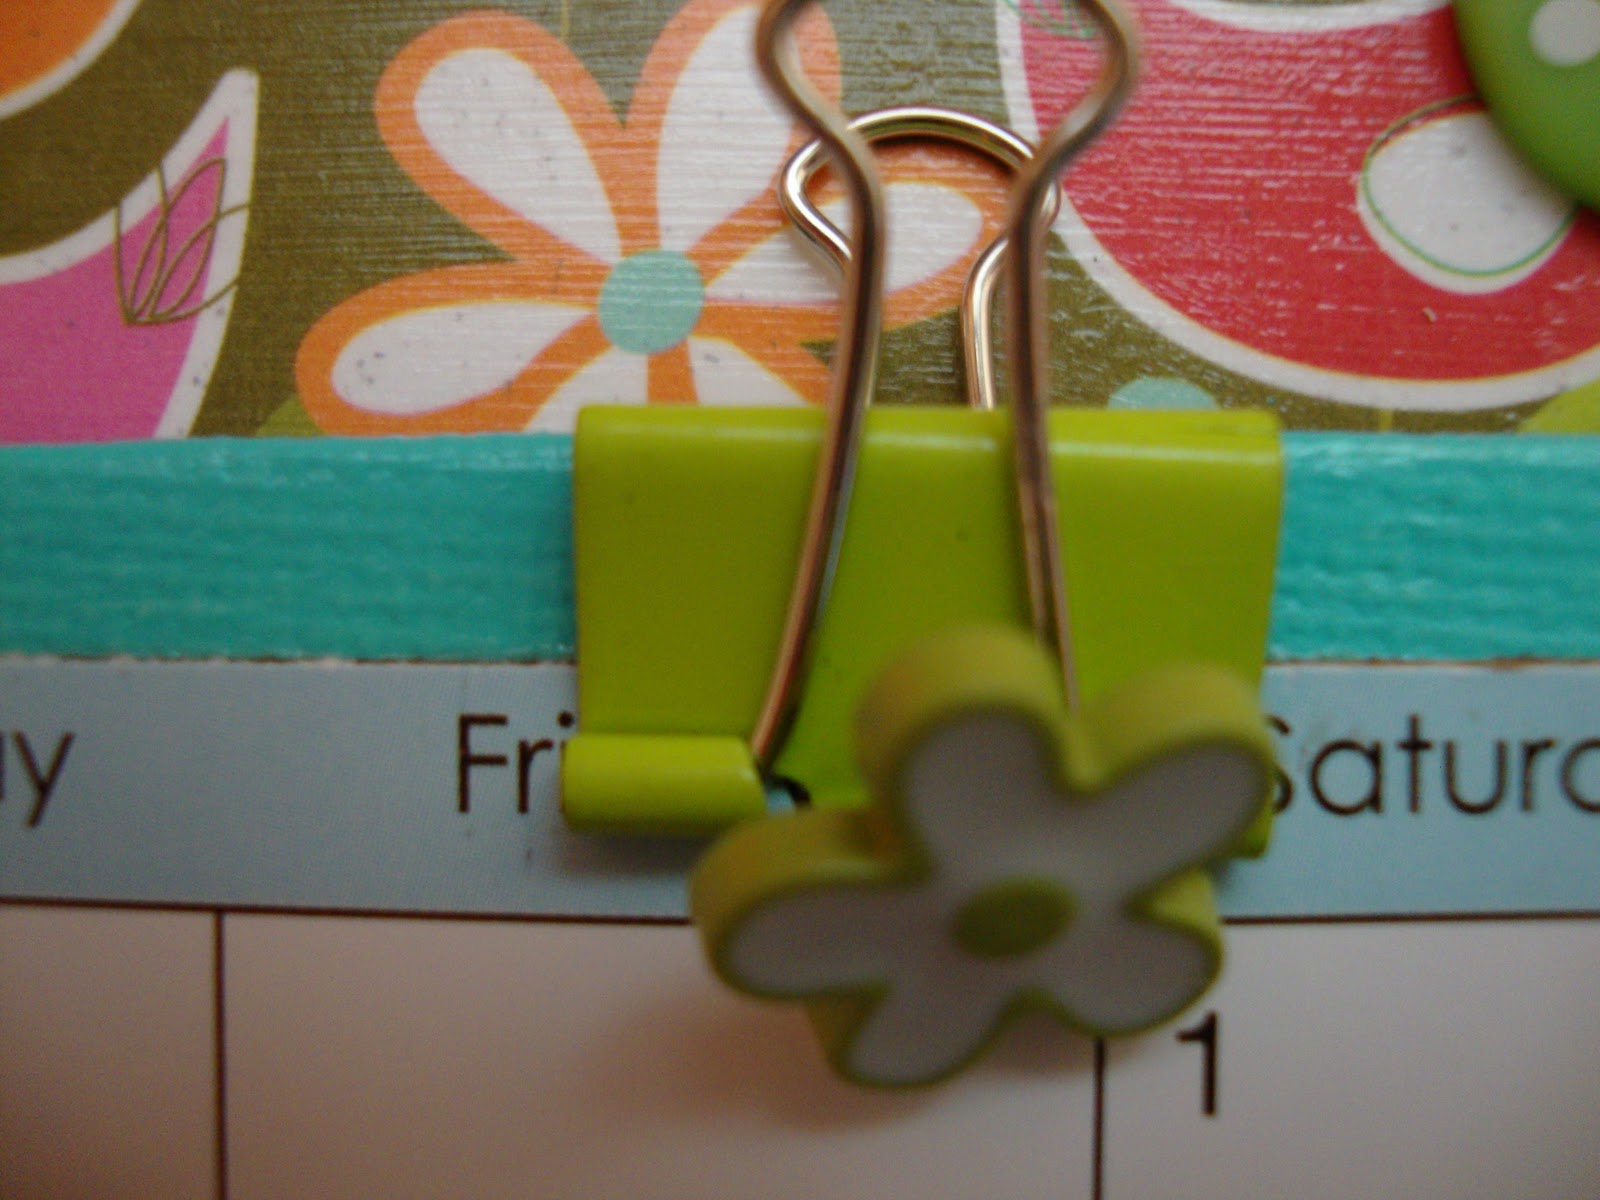
2011 Calendar & Photo Canvas


Material List:

9" x 12" and 6 x 8" canvas panels
coordinating scrapbook paper cut 8-1/2" x 11-1/2" and 5-1/2" x 7-1/2"
acrylic paint & foam brushes
Mod Podge (glossy)
Binder clips
Buttons
Spiral paper clip
Hemp cord
2011 calendar, cut to fit smaller canvas (I found these for 50 cents at Michael's)
metal label holder & brads
4" x 6" acrylic flat photo frame
photo (which is interchangeable)
double-sided foam tape
assorted ribbon & ric-rac
silk flower (cut from stem and backing)
number stickers
hot glue gun

If you would like a tutorial, leave me a comment and I will be happy to email it to you.  Also, if you like this bright color combination, click here to see the matching mail & note holder I made last year.
Now onto Resolution #9:  enjoying my 17-year old--that is, after she yells at me for waking her...Happy New Year!

Doreen

Linking to these fabulous party blogs:


       Button Redo


Related Posts Plugin for WordPress, Blogger...