PLEASE VISIT MY NEW BLOG

Wednesday, March 16, 2011

Tropical Birthday Bash

Beach sand, shells and votives light up the room
I've heard that a picture is worth a thousand words, but I didn't believe it until this post published without text!  All I did was answer the telephone, and the next thing on my screen read "You have published successfully."  Let me try it again...this time with a few explanations.


From the blog title, you may have gathered that we had a bit of tropical weather here recently -- in celebratory form.  My hub decided he didn't want to turn 55 alone, so we invited a few of his close pals by to cheer him up!  And they did a great job.  Look how happy he is:
He & Me in Hawaiian garb


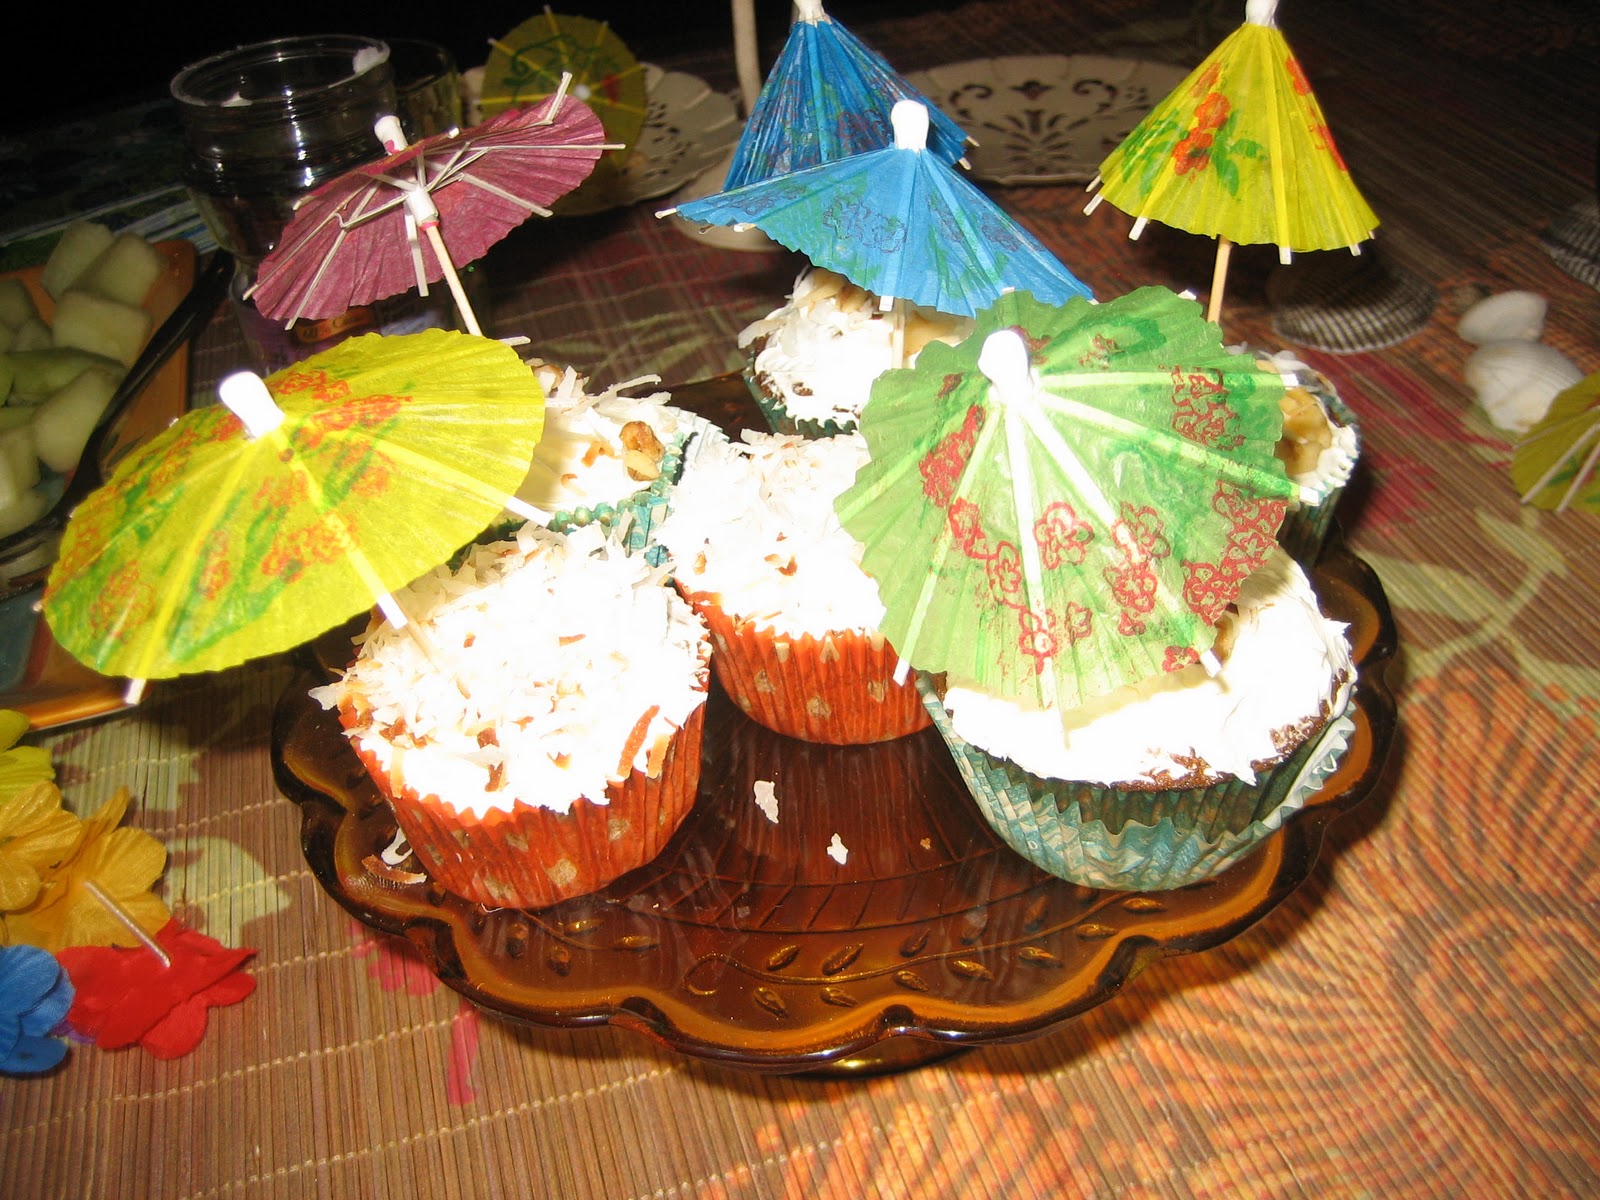
Tropical Cupcakes
and a printed bamboo shade as the tablecloth
An embellished palm tree


Paint chips, fancy paper plus my Slice


Create a colorful banner
that reads "Happy Birthday Ron"

The cost for all this creativity:
priceless.


Staying with the tropical/beachy theme, we recently purchased this wood print artwork
for our upcoming 25th wedding anniversary,
to commemorate our engagement on the beach in Malibu, California.
Happy Anniversary, Sweetheart!


Linking to these fabulous parties:


Thrilling Thursday at Paisley Passions

Sunday, February 6, 2011

The Perfect Ensemble

A heartfelt handmade gift means so much, both to the giver and receiver.  You know how much love goes into making something special, so it is equally important to know who your recipient is as you create it.  

I decided it would be fun to create an entire coordinated ensemble of altered artwork to mix and match for a good friend or two.


Finding vintage-style coordinating scrapbook paper online a few years ago,  I loved it so much that I bought all that was available.  It's a subtle Valentine mix of dark red, soft yellow, sage and black -not a hint of pink or bright red in the bunch. 
Since I just altered a wooden plaque (see February 2 post), I decided to create coordinating items, addeding a small notebook, pillar candle, clothespin clips, a large spiral notebook, a note holder, and of course, a glass jar filled with chocolate.

Here is the beginning of my embellished mini notebook.  I found these small spiral notepads (with pens) on our recent visit to Cal Poly, San Luis Obispo -- in the college bookstore for less than $2 each.  Here are the before and after notepads.
                                     
And here is it is shown with thematching pen and altered clothespin clip.  Embellishments include ribbons, chipboard circle stamped with "Friendship is a work of heart," a wooden bead and metal heart charm, and of course, the coordinated scrapbook paper.
And a surprise envelope inside for love notes or perhaps a sweet gift card?
And a few stamped images throughout the pages.
...the large spiral notebook
...matching tile coasters
...an embellished pillar candle

and this altered glass hinged jar full of kisses--chocolate kisses!


And a photo of the complete ensemble:
Now it's time to steal a few of those kisses...xoxo

Linking up to these fab blogs:
Craft-o-Maniac

InspiringCreations
(Lindsey's first linky party!)

Craft Link parties


The Girl Creative
Making


Wednesday, February 2, 2011

With all of my Heart

Ahh--another month, another project!   Although my plan is to post altered art projects more frequently,
until the dust settles (literally, as we are painting the house), I hope this project will inspire you.

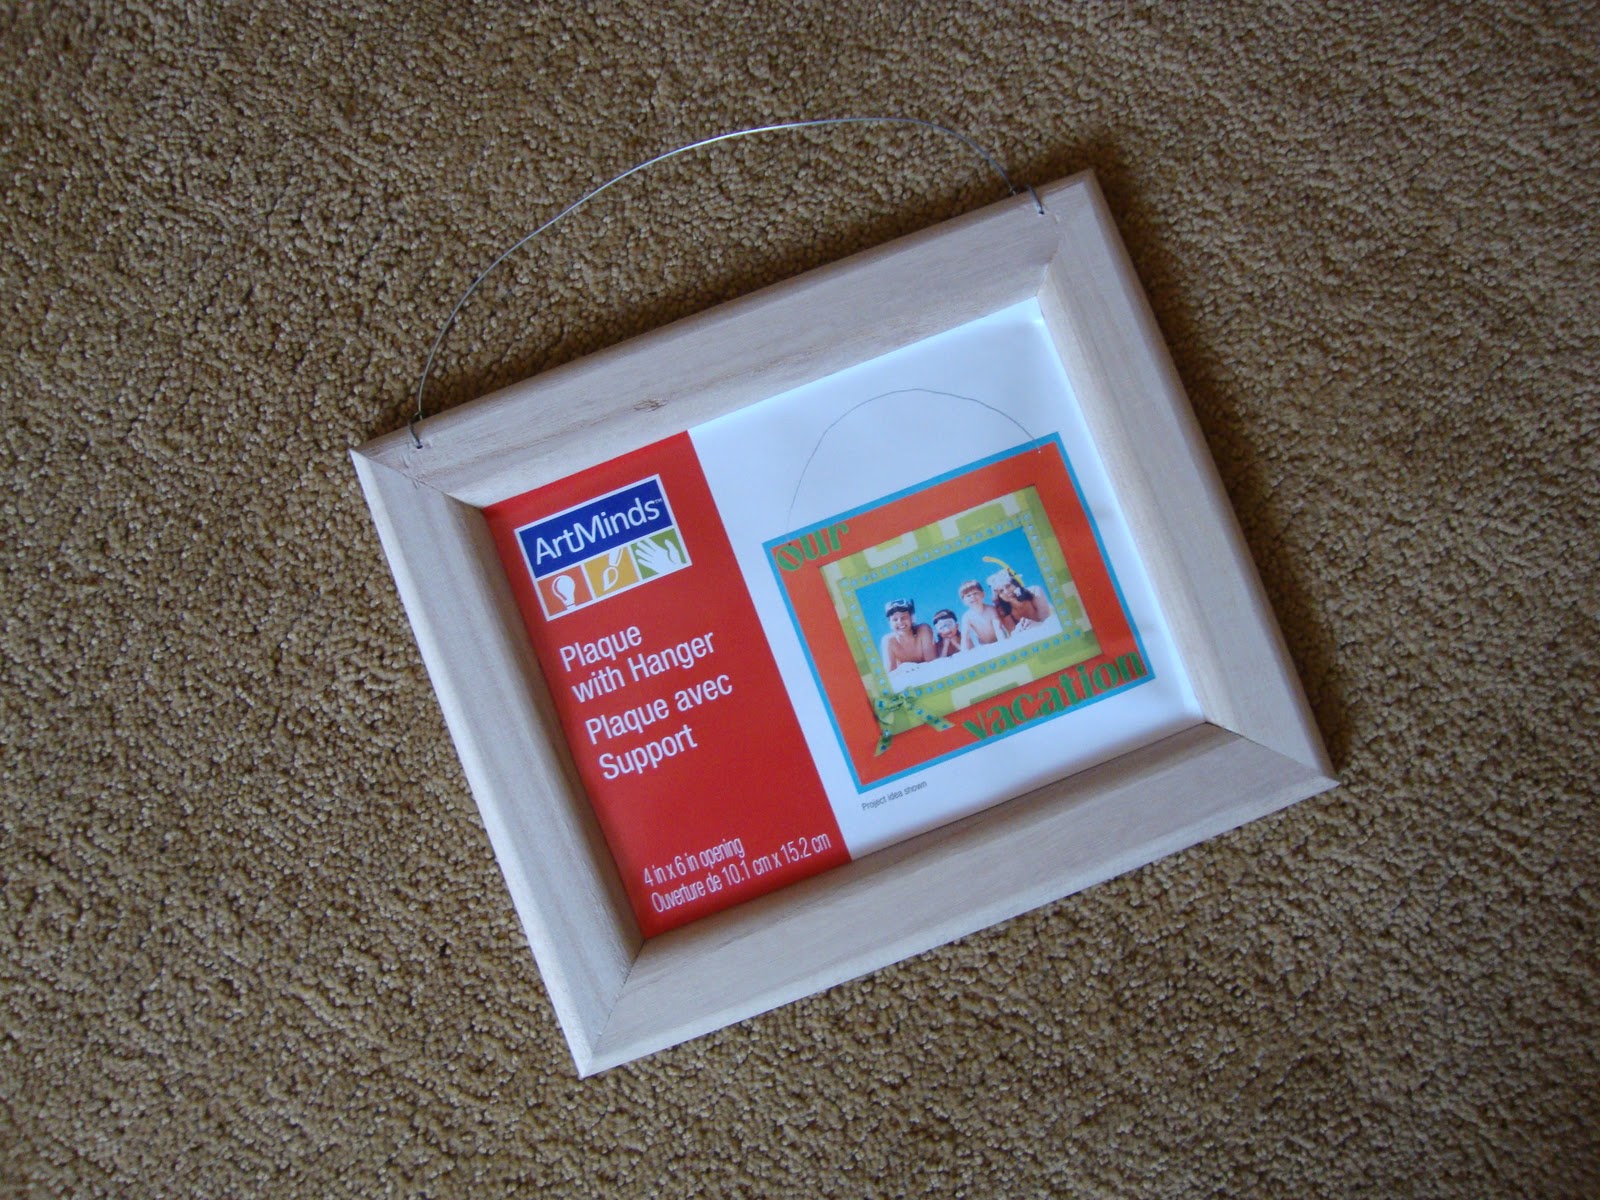
This wood plaque caught my eye at Michael's, and because it has a nice wooden frame and a sturdy wire hanger for embellishing, I decided to give it a go, even though it was one more item I didn't need.  After this, I hope vow to create projects from my existing stash.  Is there an organization out there for us arts & crafts collectors hoarders, maybe with a 12-step program?  As long as I can embellish and mod podge the list, I promise I will try to follow it...maybe.  However, in all fairness to my art budget, I spend less on all my stash than my husband spends on one of his ski weekends. 

Starting with this mundane 7" x 9" wood frame,  I chose vintage scrapbook paper, and cut out a 5-1/2" x 7" piece for the frame center.  Before podging this, I picked out a beautiful buttery yellow paint for the outside frame edges, and a chocolaty brown color for the inset.  (Hmm, butter and chocolate--sounds like it's time to bake some cookies.)  After lining the inside frame with painter's tape to help me paint straight edges, I applied two coats of each color, allowing the first color to completely dry before applying the painter's tape for the next.  

And now for the really fun part: choosing embellishments. 

I picked out flowers, buttons, a heart clip, a metal "xoxo", L-O-V-E punch-out letters, a "with all my heart" sticker, clothespins, a metal tag, and coordinating ribbons. 

Here are photos of the finished frame.


 I modpodged the letters to slightly larger buttons
and used  a small button in place of the "O' sticker

 Because I love the idea of being able to interchange photos,
I adhered a 5" x 3-1/2" clear acrylic frame to the board. 
 and inserted pretty paper, which looks nice until a photo takes the spot.

 I mod podged complementary paper to the clothespins
and to one of them, I tied a metal tag that reads, "with love."

And the before and after, a project true to my tag line,

"Transforming  the mundane one embellishment at a time."


Just joined.
Welcome to my new sorority sisters!

Linking to:  Rook No. 17

Thrilling Thursday at Paisley Passions

Tuesday, January 18, 2011

Win a Silhouette!

What's smaller than a bread box and is totally crafty?  The Silhouette machine.  This is one of my must-haves for the year!  And one of my favorite bloggers, Kaysi, at "Keep it Simple" is giving away one of these beauties.  I'd keep my fingers crossed that I will be the lucky recipient, except I wouldn't be able to create anything as my fingers would be all twisted! 

For more information and to visit Kaysi's wonderful blog, visit http://craftskeepmesane.blogspot.com/.  And while there, put in a good word for me!

Linking to:
 

Wednesday, January 5, 2011

Top Ten Resolutions for 2011


Happy New Year! Let's ring in the new, and throw out the old. No, wait! Don't throw out the old. Instead, "upcycle" it.

As I near the age matching the year I was born (mid-50's), I find this creative phrase a metaphor for life. Instead of grumbling about all those things that we mid-50 year old women find astonishing (like hairs on the upper lip, a body in need of toning, and grumpy teenage children, just to name a few), it is time to upcycle ourselves: limit the sugar and white flour, exercise for life, share a smile more often, and stop being so hard on ourselves. The super-Mom syndrome of the past few decades is no longer acceptable. Instead, it is time to find a gentle balance on our continuing journey called life. That being said, here are my Top 10 resolutions for 2011:

 1. Donate un-used craft items to Girl Scouts.
 2. (Continue to) volunteer at senior centers.
 3. Organize (i.e., toss out) expired coupons, old receipts, and newspaper clippings that I saved to read (but didn't).
 4. Spend more time reading novels and non-fiction.
 5. Take a class to expand my computer knowledge (which will benefit my blog).
 6. Take vitamins regularly.
 7. Add a day of tennis to my bi-weekly tennis schedule.
 8. Hide the chocolate--from me (i.e., don't buy the stuff anymore).*
 9. Enjoy spending time (instead of arguing) with our younger daughter for the next eight months before she goes off to college .
10.Think outside the box (i.e., my comfort zone) and expand my crafting repertoire.

*This is going to be tough!

Let's start with Resolution #10: expanding my crafting repertoire; thus, I present my first altered art project for the new year:

2011 Calendar & Photo Canvas


Material List:

9" x 12" and 6 x 8" canvas panels
coordinating scrapbook paper cut 8-1/2" x 11-1/2" and 5-1/2" x 7-1/2"
acrylic paint & foam brushes
Mod Podge (glossy)
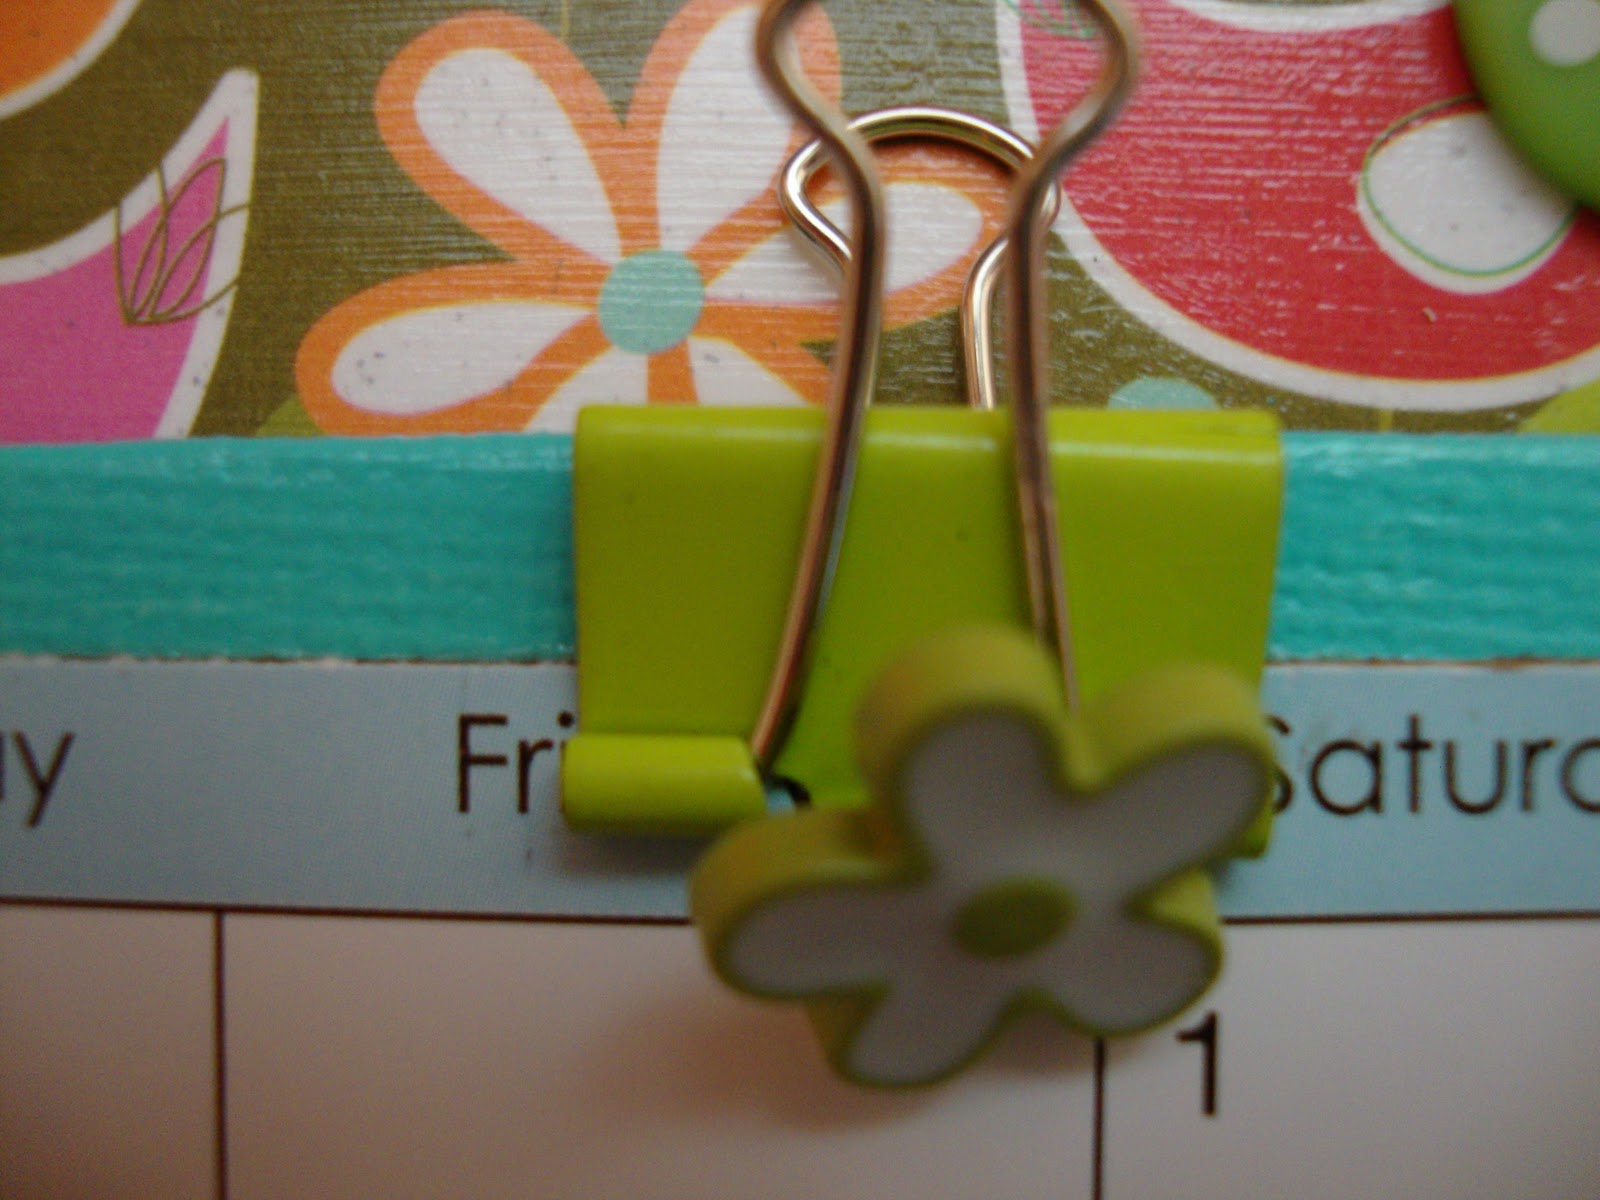
Binder clips
Buttons
Spiral paper clip
Hemp cord
2011 calendar, cut to fit smaller canvas (I found these for 50 cents at Michael's)
metal label holder & brads
4" x 6" acrylic flat photo frame
photo (which is interchangeable)
double-sided foam tape
assorted ribbon & ric-rac
silk flower (cut from stem and backing)
number stickers
hot glue gun

If you would like a tutorial, leave me a comment and I will be happy to email it to you.  Also, if you like this bright color combination, click here to see the matching mail & note holder I made last year.
Now onto Resolution #9:  enjoying my 17-year old--that is, after she yells at me for waking her...Happy New Year!

Doreen

Linking to these fabulous party blogs:


       Button Redo


Related Posts Plugin for WordPress, Blogger...