PLEASE VISIT MY NEW BLOG

Thursday, September 5, 2013

Why I'm in Love with my Local Hardware Store

painting spice racks
Pin It

I have been drawn to hardware stores since I was a child.  In addition to the usual array of nuts and bolts, you can find a fun mix of wonderful items like kitschy kitchen towels, fancy drawer pulls, garden accessories, a full spectrum of paint chips, cute key tags, postcards, doormats, beach toys and much more.  The employees at our local hardware store are helpful, friendly and they love to see my offbeat trash-to-treasures I'm working on. 

Last week I needed two 1" wide wood boards for a spice rack that I was transforming into a two-tier shelf for my daughter's dorm room.  The associate that helped me suggested inexpensive paint sticks might just fit the bill.  He was right!  They were the perfect width and length.  With just a tiny inset cut on each end, the paint sticks were the answer to my broken spice rack.  Here it is when I spotted it at a yard sale:
Chevron

The shelf design lends itself to a vintage, distressed technique.  However, this is for my college daughter, and she requested bright and sassy!  She chose a neon yellow color.  After two coats of paint, I podged strips of fun Chevron yellow & gray paper to both shelves.

I transformed a mini photo frame into a chalkboard, and glued it to the top of the rack.
turning frames into chalkboard

For added pizazz, we adhered even more Chevron--this time, bright ribbon to the back boards (the ones I added from the hardware store) and white buttons to the front of the shelf.

It's bright, sassy and fun (just like my daughter).  She loves it! 
Maybe I have to re-think this whole vintage trend.

mod podge, decoupage


Pin It
Since I'm an equal-opportunity Mom, I thought I would share this personalized stamped washer necklace I made a few years ago for my older daughter.  It was my first attempt at metal stamping.  I used two different sized washers, one stamped with her name, and the larger one with her sorority name.  It was a big hit with her sorority sisters.  Wouldn't this be a fun project for the girls to create on their weekend retreat?

sorority charms

 Pin It

You may also like these crafty transformations:
transforming furniture with paint


Meet Me at these parties:
Embracing Change
Domesblissity
 Linky Party
button
Gingerly Made
Domestically Speaking
The DIY'ers
Boogieboard Cottage


Life on Lakeshore Drive
Three Mango Seeds

TTF CoHost 1
 Mellywoods Mansion
 Visit thecsiproject.com
Weekend Bloggy Reading

Consider Me Inspired

The Weekly Creative

Tuesday, August 20, 2013

Using Book Pages for Collage

 
using book pages in collage
Pin It
 
While on vacation, and having a few hours to myself one day, I googled thrift stores in the area, and found a local Salvation Army. After [only] three u-turns, I finally found it.  It was a bit disappointing.  However, I did pick up this wooden caddy for 99 cents. 
 
When I got it home, I realized it came with its very own dead moth.  Ewww!  I don't want to know how long it's been hiding in there. 
 
After a thorough cleaning, I painted it in my current go-to color, Behr's Clear Pond, which I had
on hand.
Ahh, it looks better already!

For creative inspiration, I turned to a vintage children's book called "The Bobbsey Twins on Blueberry Island."   I fondly remember reading many books in the Bobbsey Twins series in my early reading days. 

Using book pages and my stash of paint chips, I began altering the wooden box into a handy desk caddy.
collage with book pages
 
For those of you familiar with my altered art, you know I prefer clean lines.  For this project, I'm going to go c-r-a-z-y and try my hand at collage!  [My friend, S, will be glad to know I'm using her favorite art technique.]
Paint chips.

Torn pages [eek--don't tell the librarian!].
 
Twine.

A collaged clothespin on each side--to hold notes.
Pin It

A vintage measuring tape cut around the 56" mark -- happens to be the year I was born [and, uhh, also my current age, at least for one more week], a stamped image and a rustic metal tag.
 
 A roll of the dice shows another five-six.  Cosmic.
 collage book pages
 
Added these metal "legs" to give the caddy some stature. 
(Plus, I've had them forever.)
 
Here are photos of the finished caddy.  For now, it will hold markers.


Pin It
What do you think of my new desk caddy?  What would you use it for?

You may also like these projects:


Blog Stalker Features

Come party with me here and

friday link party
restoration redoux throwback thursday
house of rose inspire-me-please-weekend
diy showoff that-diy-party:
serenity now blog
practically functional fun-functional-link-party
a bowl full of lemons organize-it-link-party
the life of jennifer dawn a-little-bird-told-me
family home and life wow-us-wednesday-link-party
mod vintage life mod-mix-monday
serendipity and spice manic-monday
answer is chocolate.bff-open-house-link-party
the grant life life-of-the-party
52 mantels thursdays-are-your-days
posed perfection all-things-thursday
ladybehindthecurtain.com/cast-party-wednesday
adventures of a diy mom terrific-tuesday
sowdering about on-display-monday
made to be a momma homemade-by-you
clean and scentsible the-inspiration-exchange
the 36th avenue
coastal charm nifty-thrifty-tuesday

Friday, July 26, 2013

Glittery Beach Party Favors

[This is a sponsored post written by me for #Plaid Kids Crafts and Blueprint Social.  I was not compensated, but did receive free products, for writing this post. All opinions are 100% mine.]
 
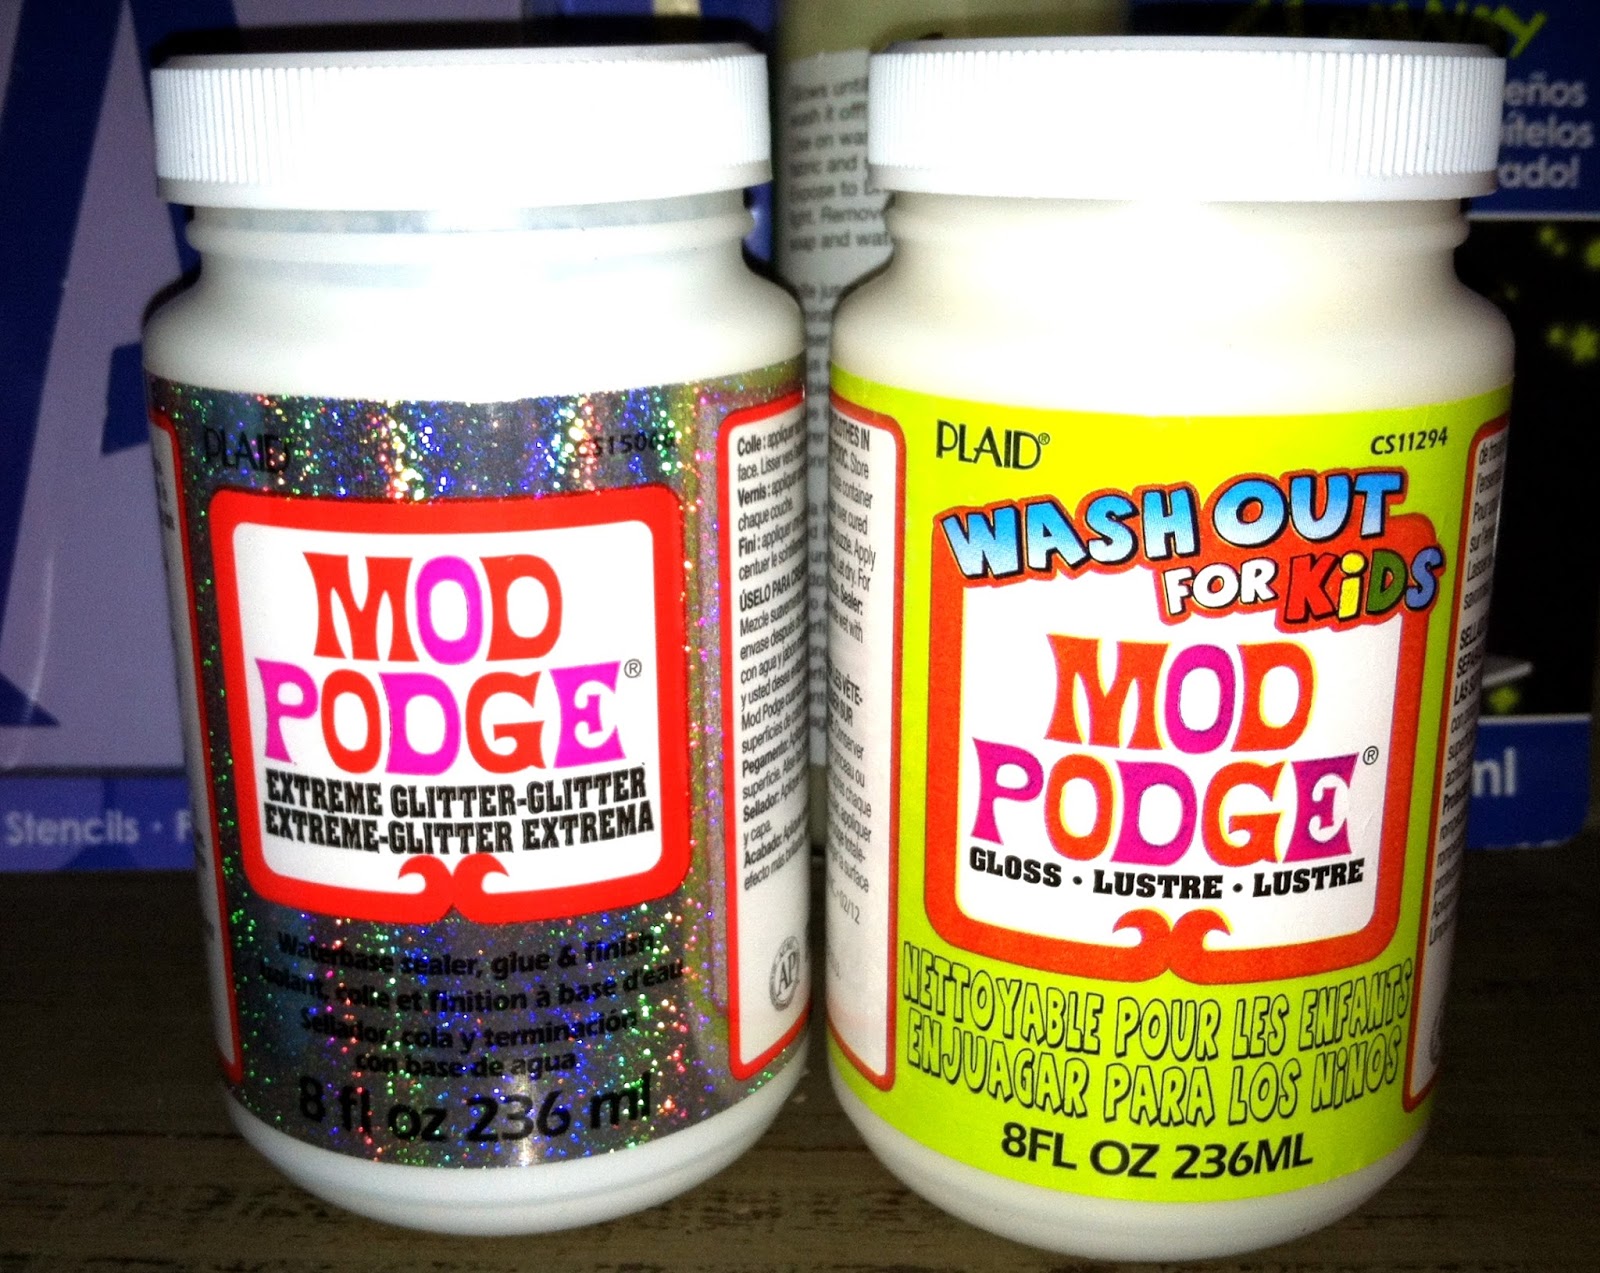
They say that life's a beach.  Here on the west coast, the Pacific Ocean offers us miles and miles of beautiful sandy shores, spectacular surf, breathtaking vistas, and of course, sensational sunsets.  So the beach is the perfect place to throw a summer party for kids.  And, of course, this means beachy party favors.  As part of the Plaid Kids Crafts Summer Campaign, I received a box full of awesome craft supplies:  Apple Barrel bright, neon and glow-in-the-dark acrylic paints, Mod Podge Extreme Glitter, Wash-Out for Kids Mod Podge, Glo-Away Gel, and alphabet stencils. 


I thought these fun, summery craft products would be perfect to create glittery beach pails.  Since these products are fun and safe for kids of all ages to use, each child at the party could decorate their own beach pail. 

For this project, you will need:

Apple Barrel Acrylic Paints
[I used Bimini Blue, Yellow Glow in the Dark & Glow in the Dark Fluorescent Pink]
Extreme Glitter Mod Podge
Plaid Stencils
Foam brushes
Painter's Tape
A tin pail with handle
Large tags
[Optional: washi tape, buttons & twine]

1.  Tape off sections of the pail and paint stripes. 

Two coats of the paint nicely covered the pail. While still wet, remove painters tape. 
 
2.  Choose a stencil, and tape it to the side of the pail.  In the alphabet stencil sets, I was pleasantly surprised to find shapes and numbers, too.  I went with the flower.
 
Using a pouncing motion, paint inside the stencil.  Move the stencil around the pail to create additional flowers.  Allow paint to dry.


3.  Add Mod Podge Extreme Glitter. 
I admit, I've never been much of a glittery kinda gal.  However, after using Mod Podge Extreme Glitter, I am hooked. I brushed it onto the blue stripe, the yellow stripe, and the flowers!  If my dog would've sat still, I may have even brushed a little glitter on him, too!  While the Mod Podge was still wet, I added ric-rac to trim the top rim.  For a little added flair, I glued some cute buttons to the center of the flowers.  [I used a hot glue gun for this step.]

4.  Embellish a personalized tag. 
 
I embellished the tag with pink & black dotted washi tape.  Grabbing the stencils again, I painted and glittered a number and a flower.  This time, I used the punched-out portion of the stencil.  Using the Mod Podge as an adhesive (yes, it's an adhesive, too!), I added the No. 1 and the flower to the tag. 

5.  Paint the pail handle and add Washi tape to coordinate with the tag.

Pin It
 
These pails are perfect for a beach scavenger hunt. See who can collect the largest seashell, the smallest rock, a piece of seaweed, and whatever else one might find at the beach. Get your camera ready because the glitter will sparkle and the bright colors will pop when hit by the sun!  And, of course, those kids are going to look adorbs!
 
That's it! 
Let the snipe hunt beach party begin.
 
The Well Crafted Home
 
Sharing ideas at some of these parties!
 
For additional creative project ideas using these and other Plaid products, visit
 

To see even more bright ideas using Plaid Kids Crafts:


Related Posts Plugin for WordPress, Blogger...